My Virtual Studio: Copic Airbrush
Copic Airbrush is a tool/technique that’s not just for advanced Copic artists, however beginners are often not in a place to purchase the equipment; however, you needn’t be an experienced colorist to get a lot out of airbrushing. It’s also not as expensive as one might think – asking Santa to deliver it wouldn’t be out of the question for his budget, just saying!
Despite the vibrant color that can be achieved with airbrushing, it uses uses less ink than marker strokes! You get control (after lots of practice) to create light or heavily-saturated backgrounds, but the ink all sits on TOP of the paper, not sinking in as it normally will with marker strokes. So more area can be covered with less ink. That said, once you START airbrushing, you’ll be airbrushing everything, but that’s a different problem!
In 2020, there might just be an airbrush class on this site. Who knows!
Soft backgrounds
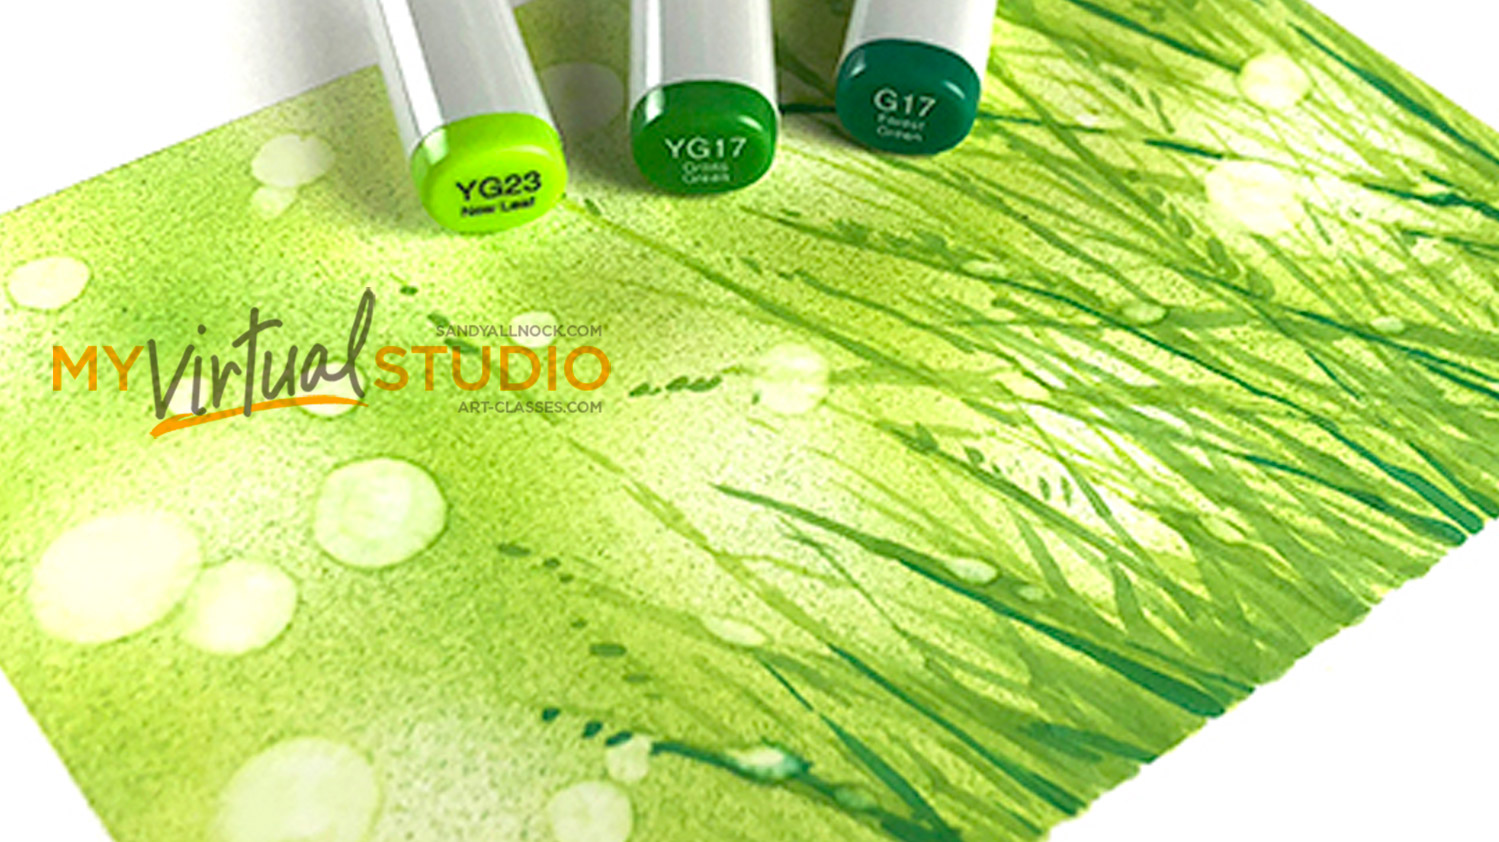
Soft backgrounds can be achieved with light coverage of pigment, spraying in light layers. After a background is completed, it can be drawn over, as in the grassy image above. Colorless blender works as it would on a background covered in strokes, pushing color away and creating the bokeh look; other colors can be drawn on top of airbrushing, given the colors are darker. See the video below:
Intense backgrounds
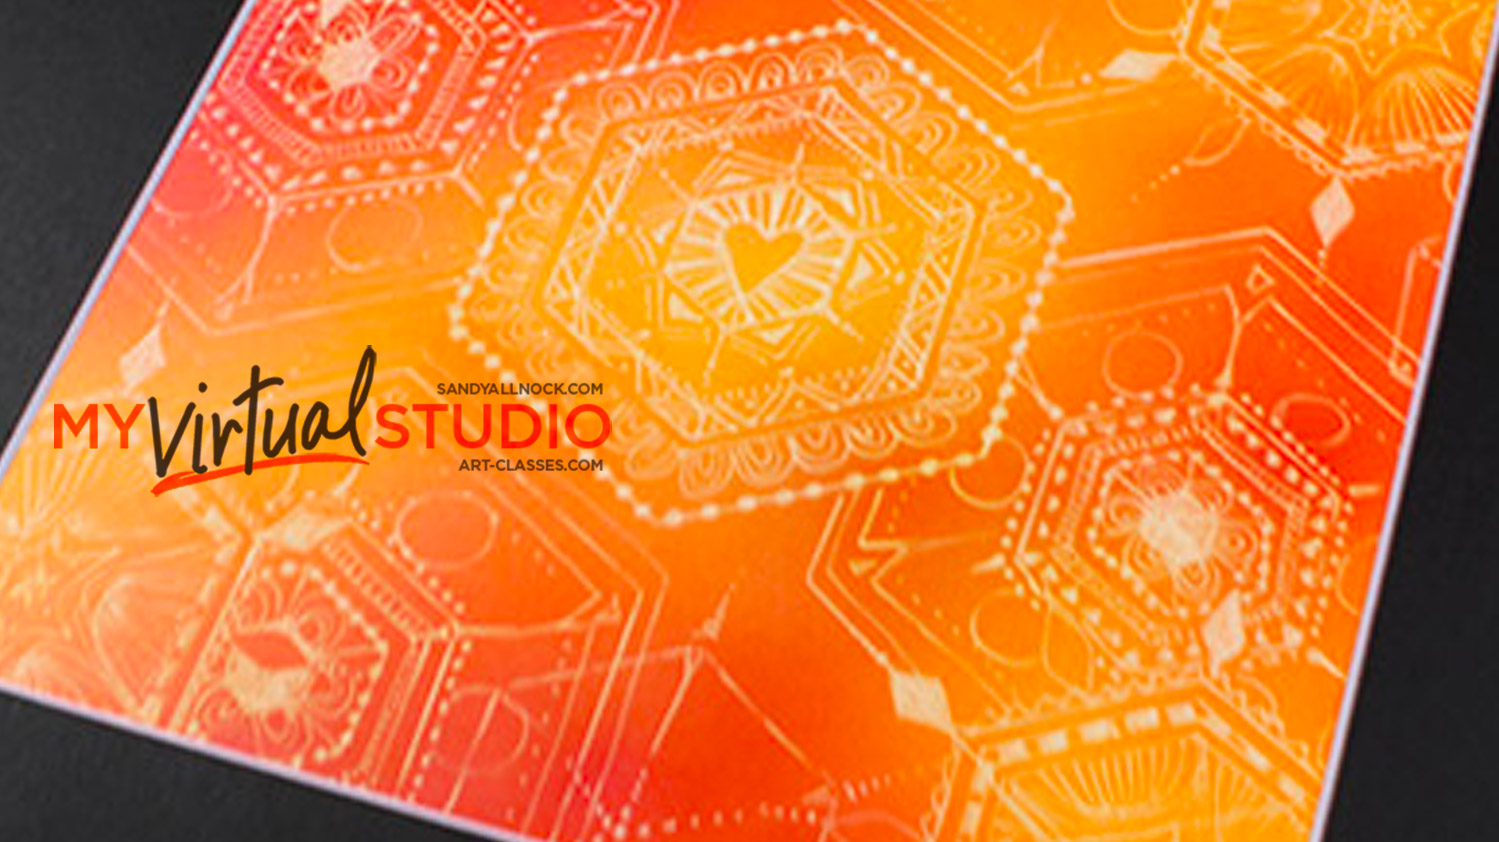
While the early layers of airbrushing are significantly lighter than what you’re used to with each color, keep applying layer after layer to create dark, rich colors. Smooth blends take practice – so plan to make scenes that can have other elements break up areas you aren’t satisfied with – like adding bubbles, snow, textures, doodling or other creative solutions. See the video below:
Supplies
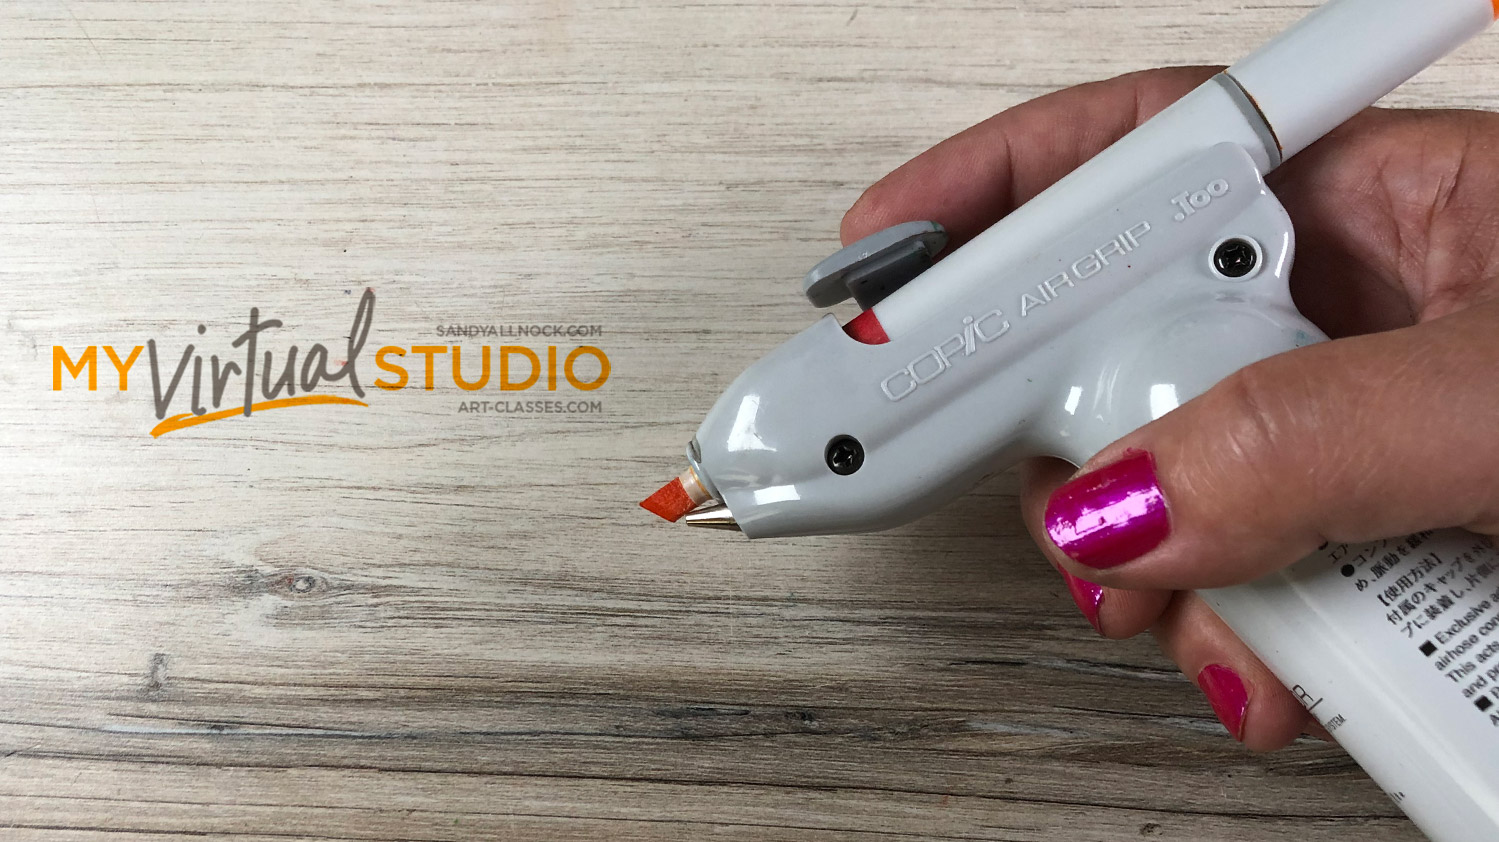
First item needed is the Air Grip (which I refer to as the “gun”) . It’s the part held in your hand, into which you insert the chisel end of a Copic marker. (Must be a Sketch or Original; Ciaos can be used carefully with a shim, but it’s a heck of a lot easier to just use a Sketch.) The air gun is sold separately from other parts, but I recommend just getting the “set” called the ABS3, as it comes with the Air Adaptor (the part that’s perpendicular to the gun) that the cord plugs into.
Then the air compressor – Copic says you must use their brand, and I can’t vouch for every compressor out there. However I’ve had one that I picked up at Harbor Freight – same one linked below that you can get shipped to you if you don’t have that store near you – and it works fine.
You’ll also need a cord to join the compressor to the air adaptor.
My thoughts on “canned” air: I don’t recommend cans at all. For one, it’s a disposable item and can be dangerous and explode if pierced – it’s compressed air, and once you use it up (which doesn’t take long), it’s not good for anything. It would only take 2-3 cans to make up the cost for a compressor (you can get one for $80-$100 easily), so I don’t think it’s worth it to even consider air cans.
- ABS3 – AMZ or BLICK
- Central Pneumatic 2 HP, 8 Gallon, 125 PSI Portable Air Compressor Harbor Freight (they carry this with the whole kit at this link, which is NOT needed for Copic airbrushing. You may be able to get just that compressor at HF in-store. It may also come with the cord, below.)
- Braided Cord AMZ
Video
Years ago I filmed this basic primer – it still shows you how the system works even if it’s older info which has been corrected above:
Other airbrush items
As said above, you need the gun, adaptor, and compressor. There used to be other “kits” though I haven’t seen them around much anymore; this diagram shows ABS2 with the air can right in the hand (ccccccold), ABS1N that connects to the can, ABS3 attached to the compressor, and, if you need to share a compressor and 2 guns at once, you can get an adaptor at your local hardware store. Just take this diagram with you and they can help find the adaptor. (Download a printable version HERE.) But know that 2 people squeezing the gun simultaneously does reduce the pressure for the other person, so I think just taking turns would be lots easier.


A quick word about the Craft Assistant—it’s a 12×12″black metal surface, and cleans up SO well. There are lots of others that are on the market, and I’ve bought and tried them – but this remains my favorite. It’s thin, lightweight, can be slung into a drawer easily; glass surfaces are really nice but I’d have to either leave it out on the counter or find a safe place to put it; the ones I’ve had are thick glass, and I like the low profile and ease of use with the Craft Assistant. 🙂
- Craft Assistant — EH
Join our creative community! Our Student Facebook Group is for all classes here …and while there are no finished projects in this class, you’re welcome to join the group and get an idea of what kind of beautiful works can be created from learnings in classes on this website!


