My Virtual Studio: Video Setup
Before we get into this setup – I want you to know there are a MYRIAD of ways to set up for video. This is just what I found works for me, and that’s all I’ve got. Some things have gotten a shakeup since this page was created (and links are updated though photos are not)
Also before you decide you want to become a YouTuber, know that it’s not a glamorous life – please carefully go through the content at the end of this lesson as well as on my video philosophy for more about that.
Okay let’s do this.

Camera
I used to use a Canon t5i, I had it for many many years – they’re up to an T8i now! It’s a workhorse, and for most people it would be great.
I was long overdue for a new camera, though, which I did get in 2020 – it’s a Sony A7iii and is amazing! The thing that kicked me over the edge to make the investment was wanting to do live videos through Ecamm – and the Canon wasn’t the right kind of camera to pipe live video to my computer. It kept shutting off. So I needed a mirrorless camera, according to weeks of research I did to figure out what to get. And all the cords. The setup for live videos is insane now, but I can get my phone to film my face (using the EpocCam Pro app), my Sony for the artwork, and if I ever end up doing the kind of lives that are what I’d like to do, including podcasting – I could bring in guests on camera for chatting. Who knows when/if I’ll ever figure that out!
Stand
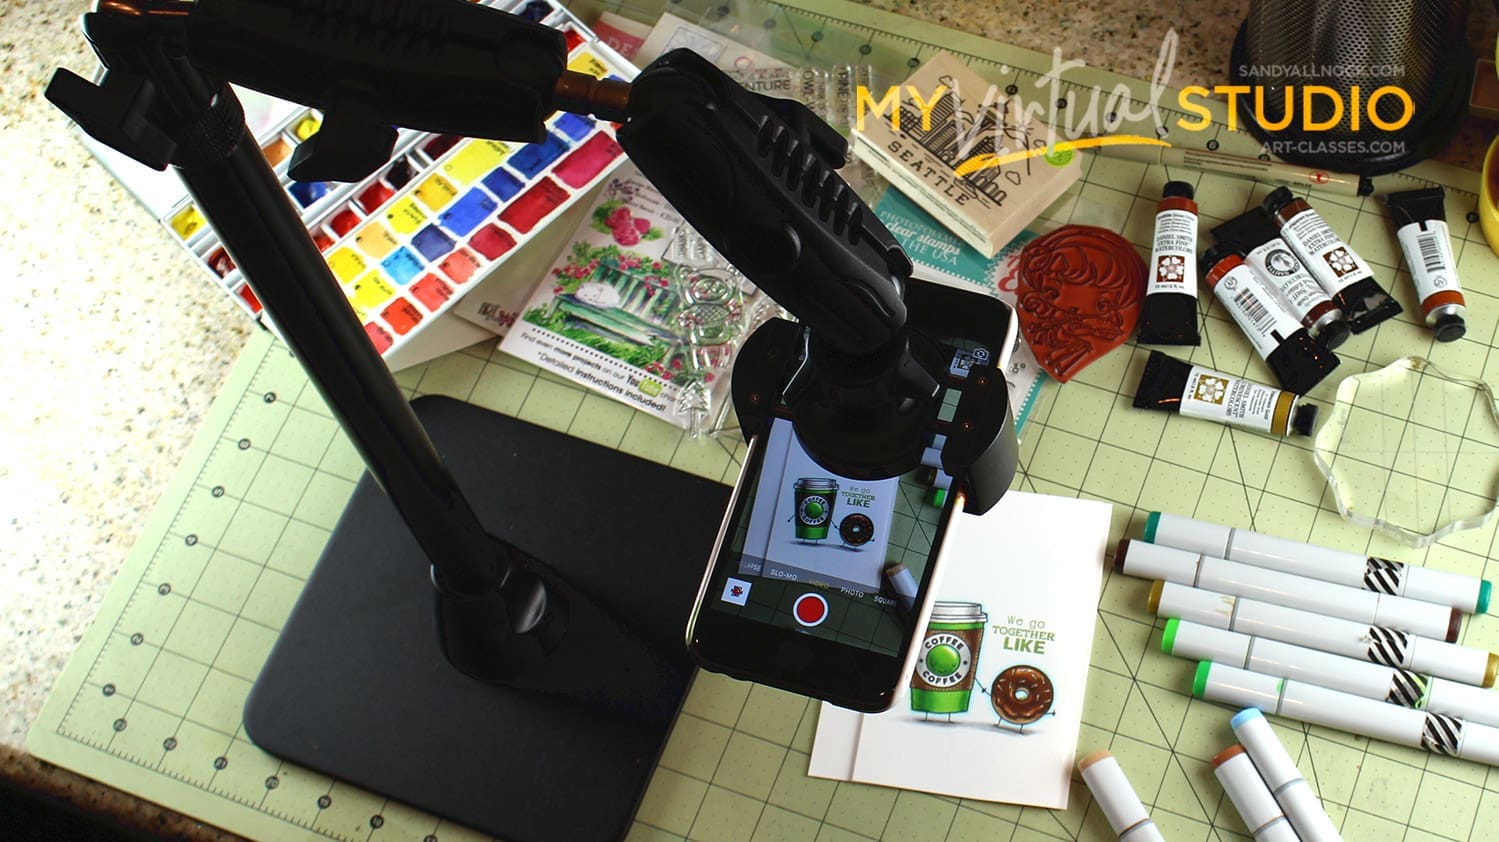
My camera is mounted on an Arkon stand; the above pic as well as the video below were made years ago so be aware of that – the weird green mat is long gone. LOL. They call it a “Kitchen Desk Table Stand” which may be the dumbest naming ever but, ya know, not everyone gets a simple word like “Kleenex”! The stand needs to be weighted down a little to counterbalance my heavy camera; if shooting on a phone, that’s not an issue. There are tons of little gadgets on the ARKON site, so look around; I got a clamp thingie to hold my iPad so I can do research or listen to SiriusXM or watch tv while I work. (I never film with the ipad but I know some do.)
- Kitchen Desk Table Stand: ARKON
- Swivel ball with camera adaptor: ARKON
- For 20% discount at Arkon use coupon code sandyallnock
When I first got my stand I made this video….
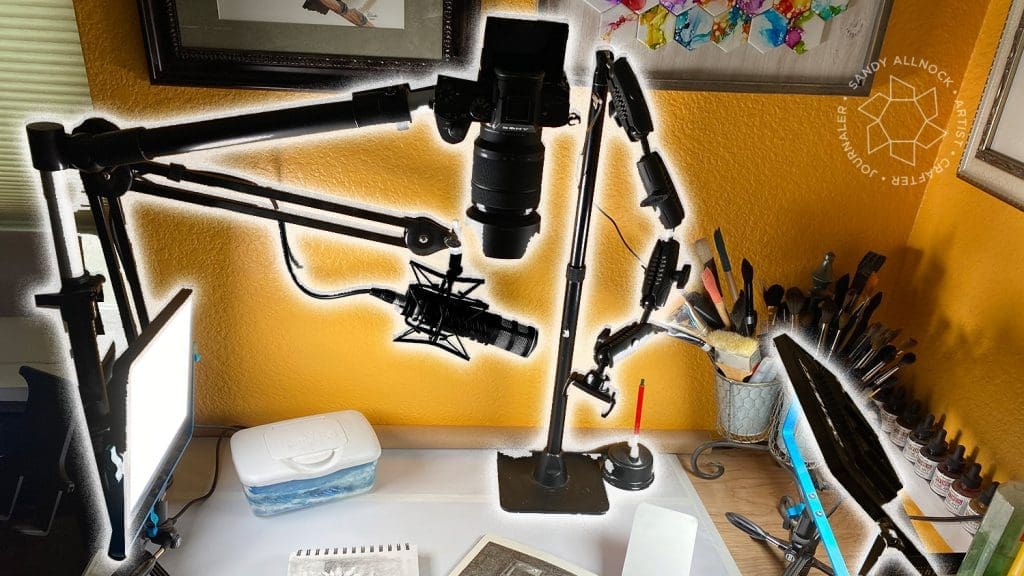
In Spring 2021 I changed things up again! Moved the location of everything so my new DSLR camera stand would work – see this post for details.
Lights
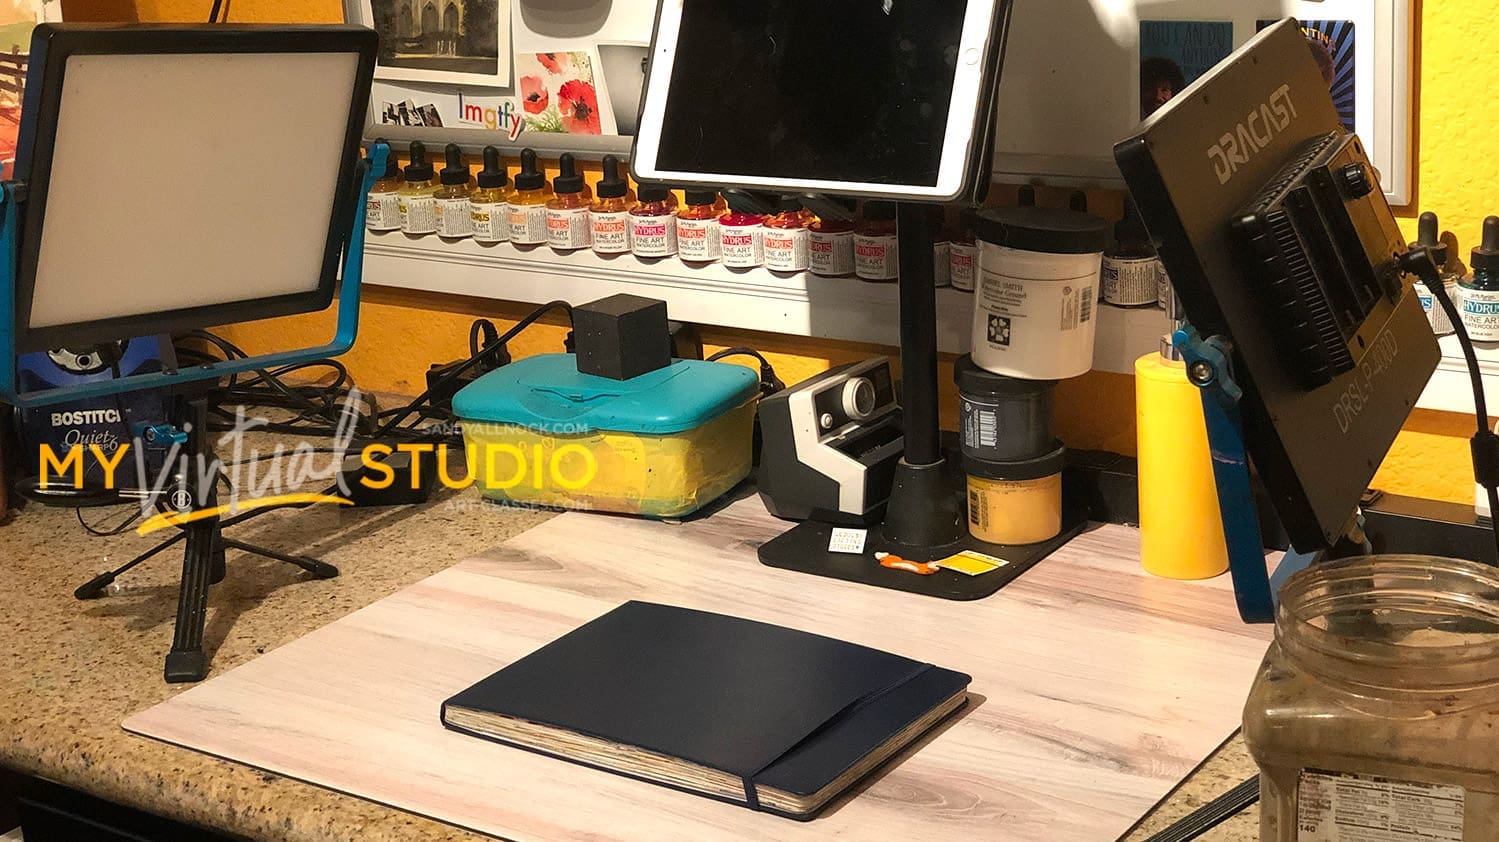
Months ago my old lighting system died – actually exploded and I smelled smoke! When I found these LED lights I picked them up and have loved them ever since – I can turn them up high to bright or dim them down, and that’s a help as I try to shoot things; some take more or less light depending on the subject. You do need a tripod to hold them as well as pins to attach the two pieces. And of course, you need two of each of these:
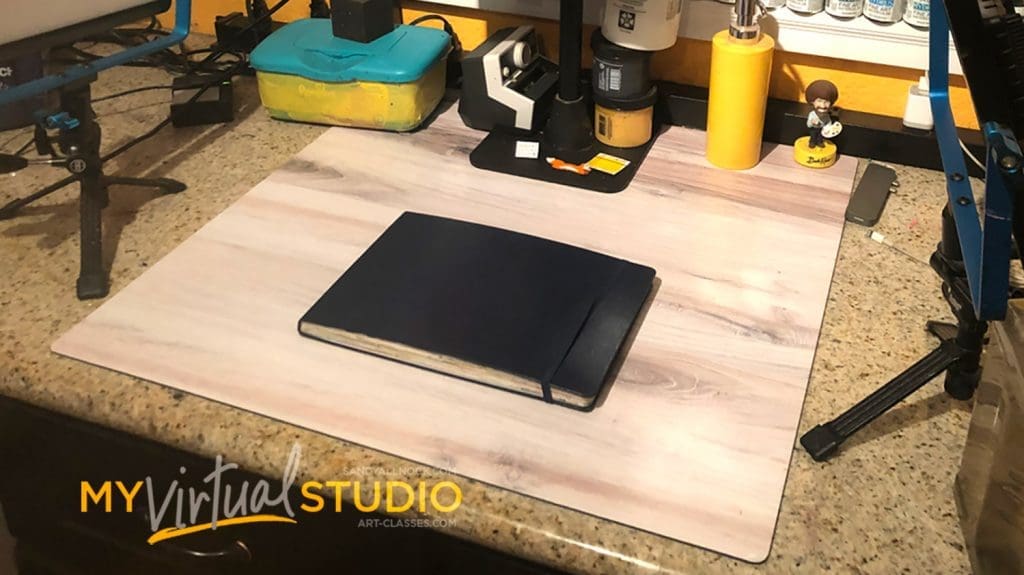
Replica Surface
FORMERLY: Working area table surface by Replica Surfaces; Mandy makes these lightweight rigid backdrops for photographers. She’s great to work with – she sends emails regularly with photo styling and lighting tips, and her Instagram is full of beautiful examples with all her designed backgrounds. The surface is “washable” — light babywash wiping, light light soap – it doesn’t curl or buckle or anything. But there’s a caveat: the surface is printed, so eventually you can begin to wash off the ink, and if you ding it, you have a white divot or scratch. Don’t get any Copic ink on it, because any solvents to clean that off take the ink off. Oops. And if you use adhesive to hold anything in place (I sometimes put a little atg tape under something I’m coloring), it can peel up the ink. If you’re gentle with surfaces, these are nice.
- Replica Surfaces – Beechwood is pictured above
NOW (2020-21): I decided I’m too messy for the Replicas. LOL. So I went to Lowes and got a big board, then cleaned it and put clear dull varnish on it. I still wouldn’t go nuts spilling alcohol ink on it, but after using it for four months, it’s cleaned up *perfectly* even after getting art supplies on it. Wipes up great! I might try some different types of wood than the one I have, but it was lots cheaper and is also much larger than a Replica. And if I decide I don’t like the board I can just paint a yard sale sign on it!

Microphone
FORMERLY: All but my face-to-face vlogs are voiced-over – which means I don’t record audio while shooting video. That allows me to edit, speed up sections, cut out unimportant bits, etc, and then once all the footage is done, I can sit and talk without thinking about anything else. I’m a Toastmaster, and nothing bugs me more than hearing myself wasting people’s time with a lot of blah blah blah or uhm this and uh that! I keep videos tight. The mic I used until 2020 is a Blue Yeti – I recently tried a pricey little one after another YouTuber said it was awesome – bur frankly I made half a dozen videos with it that sounded just really strange, and went back to my Yeti. And you wonder why I admonish folks not to buy something just because someone says you should! He got his affiliate $ but I was out my money on a lame mic. The Yeti I had was in need of retiring, but a new one should work fine and is affordable:
- Blue Yeti – AMZ
NOW, 2020: I have a ridiculous system now that no regular artist/crafter really needs! But as said above, I am podcast-curious. So many people tell me they like to just listen to me…..I’m not sure what that’s all about, but I’ve been pondering a podcast. Between the aforementioned live video content I was considering, and podcast thoughts, I decided to invest in a new audio system. I now have a Rode mic, RodeCaster sound board, a swanky swing-arm mic stand….it’s way overkill and I broke the bank for it and the camera, but….this equipment should serve me well for a decade to come. (When I hope to retire!) Cords you’ll need will vary depending on your setup.
Live Broadcasting Software
For most people an iphone or ipad will work well to do a live bit of art. Not fancy but doable! I wanted to try other things, as said before – and decided on ECamm Live. It works to connect my Patreon account with Crowdcast so I can create live videos that are for patrons only, as a benefit for those who support my work. I can also do public Crowdcasts (and charge for them outside Patreon if desired) and can use Ecamm to broadcast to Facebook, Youtube, or other platforms with one ‘known’ setup. I only have to get the cords figured out once and then click a button to point the feed to the public site for the live video to start!
Software
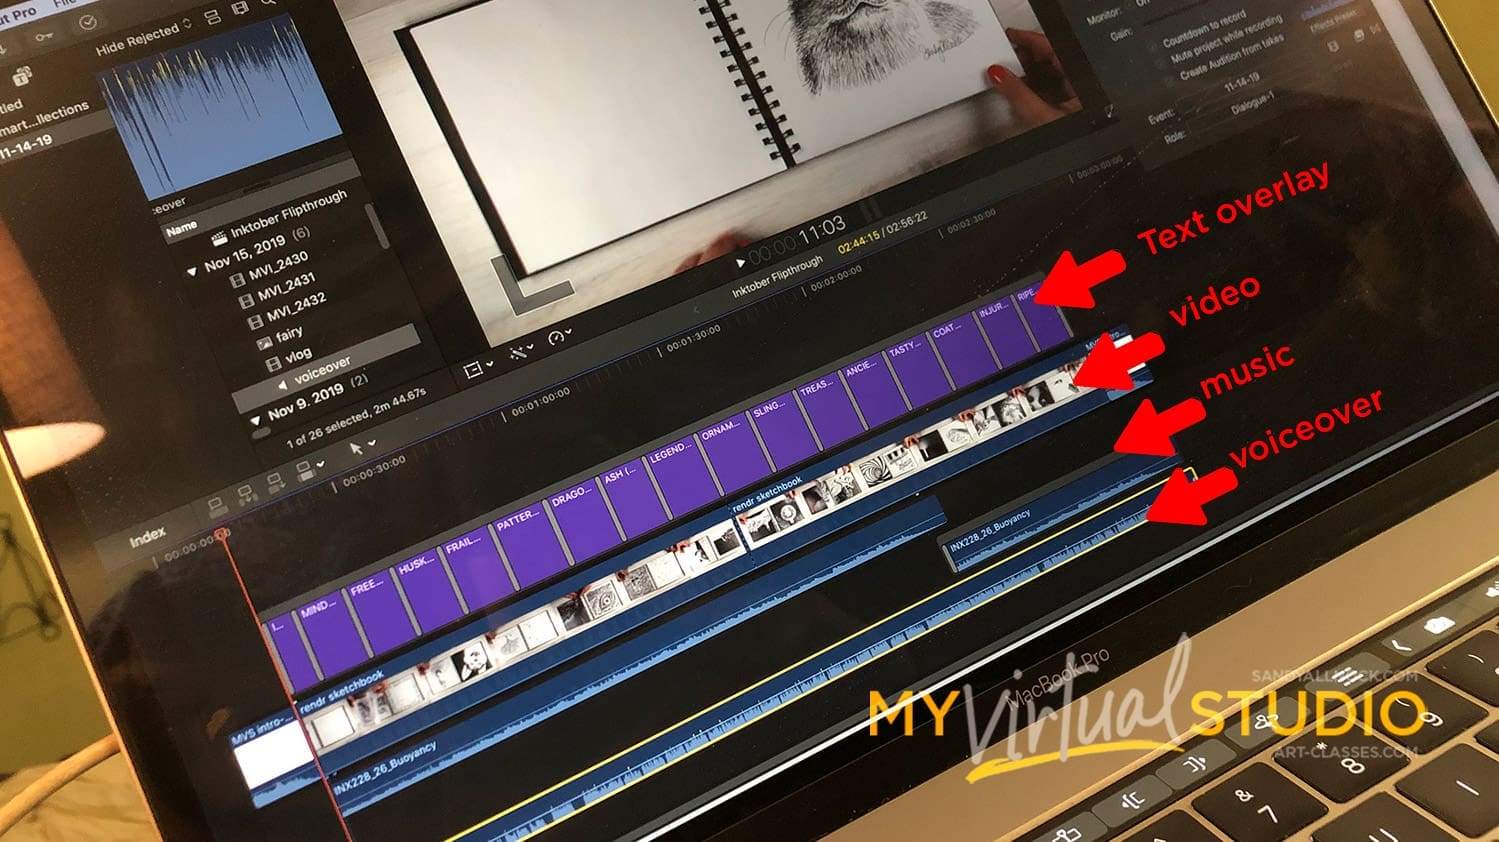
In general, to produce a video, you’d download the footage from your camera or phone, and stitch it together in an editing software. This is a place that a lot of folks differ – and your tech capacity will make a big difference. I can’t speak to either the cheap software (like the ones that come with your computer) or really cheap ones you buy. I found those limiting years ago and switched to Final Cut – and haven’t turned back.
I have found I need multiple tracks – several for video, more for text, another for music, another for voiceover, etc. Having the ability to layer that all on top of each other helps me make my videos say what I want them to – so rather than go for the cheap versions, I bought Final Cut Pro. That said, it appears that recently they’ve discontinued updates to it and are trying to make me switch to Premiere – GAH! I’ve been too slammed lately to learn something new, so next year when I have some capacity I’ll learn that. I’m sure it’s fine, it has the features I want, it just operates differently, so I’ll figure it out later.
Process
- Purchase supplies. Yes I buy most of them! I barely receive any free product, and don’t believe in going out to seek any; I want my viewers to know if I promote something it’s because I loved it enough to put my own money out for it. Plus, I don’t want companies’ impression of me to be someone always wanting something for free, no matter how much business I offer them in return.
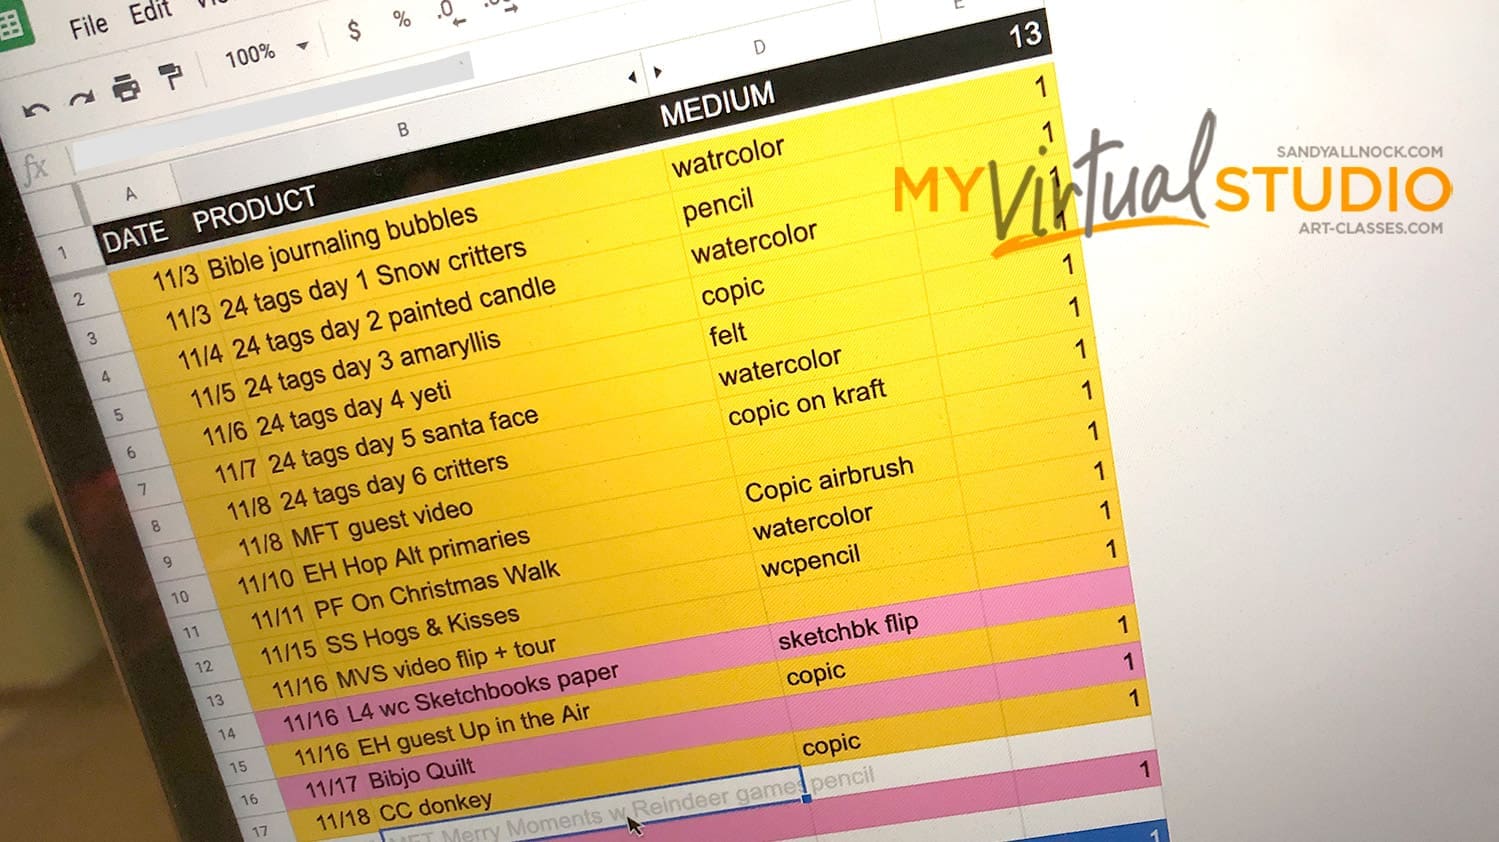
- Add to Google Sheets Schedule. Pencil in the medium, to keep rotation between them and keep the channel varied. Even if you’re “all one medium,” find a few things that you can regularly rotate between; it can help to inspire you. ie one day a week is scenes, one day focus on coloring people, etc.
- Filming day, final medium selection. The project dictates the medium, not necessarily the need for variance. Videos can easily be moved around, so let the creativity outweigh the schedule.
- Shoot stills. Focus on the project, not on putting doodads as props all over. Don’t let my idea of “appropriate” props make a company not want to share my photo – some don’t want mismatching props on their carefully curated social media.
- Import footage and stills onto computer, sort into folders. Rename files to match – easy to find. pigcard1.mov, pigcard2.mov, pigcard1.jpg, pigcard2.jpg, etc.
- Set up file in Final Cut, import footage into timeline and do preliminary edit/cut for speed; see how much has to be cut to get under 10-12 min. Strategize whether to cut parts or speed some up.
- Rehearse, then record. Go through voiceover several times so the plan is roughly set. Good to practice and cut down on uhms and uhs. Fill in with stories if I run out of stuff to say.
- Edit sound. Settings for volume, noise / hum removal. Add music underneath, softly but covers remaining hums, adds atmosphere.
- Export, convert, upload to YouTube.
- Write blog post. Create links list, add to both blog and video description.
- Mark complete in Google Sheets. Do so with a number in the number column, tracking how many videos are on-deck at the top. Correct the medium if needed. Change to “done” color. (Lots of projects are color coded including igtv or guest posts etc. )
- Reschedule as needed. Stuff comes up; being ahead allows moving around of dates for projects.
Join our creative community! Our Student Facebook Group is for all classes here …and while there are no finished projects in this class, you’re welcome to join the group and get an idea of what kind of beautiful works can be created from learnings in classes on this website!
Discover more from Art Classes
Subscribe to get the latest posts sent to your email.