
Gelli Plate Therapy Preclass
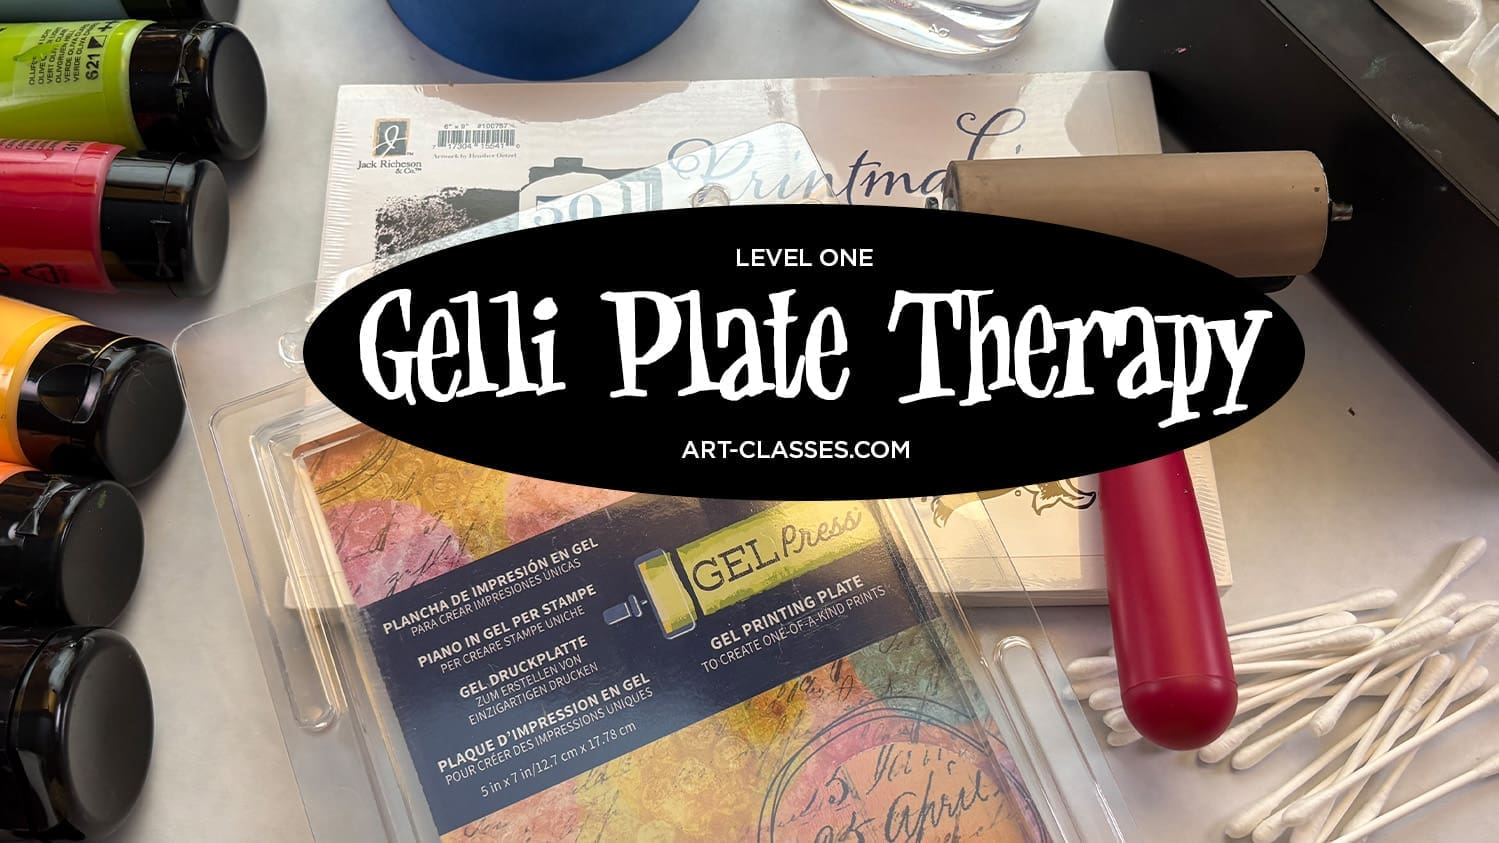
Welcome to the Preclass lesson for Gelli Plate Therapy! Here you’ll find supplies listed, as well as some bonus videos to get an idea of the very different way your instructor here thinks….this is not just making gelli plate backgrounds, but learning to see household objects in entirely new ways!
Before we start…a little housekeeping
I retain the copyright to the content you are learning in class. That means…
- Do not sell or give away the concepts from my classes – you may not re-teach my instruction contained or created within these lessons.
- Do not post a video tutorial or step by step photo tutorial of your own redraw of class content.
- Do not repost any handouts you receive in class.
However…I love to see students making strides and taking this teaching and personalizing it with your own skills.
- DO make your own designs and develop your own style! I love that!
- DO gift your creations made with these techniques, of course!
At the bottom of each lesson you’ll see some ways to share your homework and ask questions, so that’ll be handy for you.
Video:
All about materials needed and optional for class; see links and more info below.
Supplies may be affiliate links – supporting my work with a percentage paid to me at no cost to you:
Gel plates
The first one listed is the one for class, but you can use other sizes too!
- Gel Press Gelli plate, 5×7 BLICK| AMZ| JACKSONS
- Gelli Arts Gelli plate, 6×6 BLICK| AMZ | JACKSONS
- Gelli Arts Gelli plate, 8×10 BLICK | AMZ | JACKSONS
- ALL Gelli plates category at BLICK
Paints
You can use any brand of paint – but as mentioned in the video above, I find heavier body paints to be easier to deal with for newbies, and less frustrating to wait for them to dry. But if you’re really slow? You might try out one color in a Golden Open tube and see if that speed works better. Note that I tried a tube of no-name paint from Walmart – so you don’t need to get fancy with my Amsterdam paints. Get any colors you like – just be sure to include black and white.
FYI: We won’t be using Amsterdam Gel Medium Matt 080 but – once you’re done with class, you may wonder if you can print one gel plate on top of other things. Yes you can, and this transparent gel medium rocks for that. BLICK | AMZ | JACKSONS
Brayers
Demos will be done with one 4″ brayer – you can use multiples, but rather than get complicated and expensive, I used one and just cleaned it between colors. Any brand is fine, I’ll be using a Speedball 4″.
If you have gunky gross brayers from letting them get coated with paint, you likely know they’ll still work after gunky. But to clean them of all those layers, soak them overnight in a dish (I’ve used a plastic tupperware tub) with Murphy’s oil soap mixed with a bit of water. It’ll be a little satisfying peeling adventure the next day when it’s all done and your brayer will be fully ready to play again!
Papers
I print on Richeson Printmaking Paper BLICK | AMZ but you can use any heavyweight kind of mixed media paper. Just nothing too slick, acrylic paint can slip and smoosh.
You can get some Wet Strength Tissue Paper but I suspect regular wrapping paper type of tissue is fine! A couple sheets, any color.
Some tracing paper will be handy, any brand.
Miscellaneous supplies
For my table, I cover it with Weston freezer paper which I get in a GINORMOUS roll. Just go to the grocery store, you can use just one piece for this class, just wipe down any areas that get messy.
Wipes! I get the Costco brand, but I’d suggest something without baby oils and perfumes in it, I don’t know what they’d do to a gel plate eventually. I keep mine in a dispenser.
Household objects will be up to you – I have lots of suggestions in class, but you may have things that’ll do better!
- Qtips
- Post-its
- Painters tape, any color, any width
- Plastic spatula
- Small corks
- Circle punches, various sizes – can also substitute round objets
- Small scissors
- Garage items – nuts bolts door pieces wrenches
- Scrap papers
- A fork you can flatten (goodwill or vintage shops can have them for $1 sometimes!)
- Small plates
You’re going to start looking around your house at all your knicknacks, digging in the garage tools, looking through drawers full of paper clips – and you’ll find a gajillion things to try printing. Don’t go buying these little items til you see the lesson; watching what’s shown might give you a great idea for a substitute object!
Share homework & ask questions
Artventure Community
Join our active art community of thousands of artists on the Mighty Networks app or on the web. You can get quick feedback, help, and answers, as well as getting to know other artists near you and around the globe! Free to join.
Monthly Open Studio
Sign in for one of our Zoom calls – “office hour” as a community! Submit work for critiques, questions about techniques, get to know fellow students! See the calendar at Artventure for upcoming dates. Replays available free for 1 week.
Discover more from Art Classes
Subscribe to get the latest posts sent to your email.