
Ink Drawing Jumpstart: Preclass

Welcome to your journey in ink drawing! This course will teach you techniques for so many drawings that you’d like to create; each lesson will expand on the last, and you’ll end up with a collection of sketches that’ll serve as your inspiration for years to come!
Before we start…a little housekeeping
I retain the copyright to the content you are learning in class. That means…
- Do not sell or give away the concepts from my classes – you may not re-teach my instruction contained or created within these lessons.
- Do not post a video tutorial or step by step photo tutorial of your own redraw of class content.
- Do not repost any handouts you receive in class.
However…I love to see students making strides and taking this teaching and personalizing it with your own skills.
- DO make your own designs and develop your own style! I love that!
- DO gift your creations made with these techniques, of course!
At the bottom of each lesson you’ll see some ways to share your homework and ask questions, so that’ll be handy for you.
Video: Supplies and more
A little on pens and paper – but feel free to watch the series of 3 videos later in this post for way more detail than you need. 🙂
Supply list
Paper:
Watch the video below on paper; the sketches will be created at 4″ x 5.25″ which is on 4.5″ x 6″ size papers – a quarter sheet from a 9×12 pad. You can either choose a paper and cut it down, purchase an accordion album for your sketches, or use any arrangement you’d like!
I’ll be using Pentalic Paper for Pens in the demos – but it’s not always available all over! (Make sure you get the pad with this title; they do sell a drawing sketchbook with the same cover that is not good for pens.) So there are LOTS of options to try, and if you have any paper or cardstock that you’ve used with Microns that works great for you – go for it.
- Copic Sketchbook: BLICK AMZ
- Canson XL watercolor pad 9×12: BLICK AMZ JACKSONS
- Sennelier Urban Sketchbook (Accordion) BLICK AMZ
- Pentalic Aqua Journals BLICK
- Speedball Field watercolor journal AMZ
Pens:
For this course the drawings will be demonstrated in a set of 8 Micron pens that are “Blick favorites” as a collection; you might already have these if you’re a user of Microns!
Sizes that are included:
- 003 (0.15 mm)
- 005 (0.20 mm)
- 01 (0.25 mm)
- 02 (0.30 mm)
- 03 (0.35 mm)
- 05 (0.45mm)
- SB (also known as the PN plastic nib)
- BR (Brush).
Just the brush ma’am! Most Micron sets don’t include the brush pen; you can purchase a set of four of them; or try this less expensive set that has 01 and 05 with the brush.
If you’d rather use other pens, please feel free to look for matching sizes to the above list; that’ll help you get similar results to the demonstrations.
Misc:
- Pencil
- Faber Castell Kneaded Eraser BLICK AMZ JACKSONS
- Watercolor paintbrush, a size 4 round; we’ll have one lesson with simple small washes. I’ll be using the Da Vinci (both are about the same price). Other brands can be used too!
For transferring images:
Photos will be provided for you at the proper size, but you’ll also get a link to the original color photo.
In lesson 1 you’ll see a few ways to transfer the photos to your paper.
If you can see through the paper you’ll draw on, you can either tape the printout and your paper to a window, put a lamp under a glass table, or get a lightbox for tracing.
If you can’t see through the paper you’ll draw on, (ie the accordion sketchbook, for instance,) I’ll show you a free way to still make that transfer.
To prepare for class
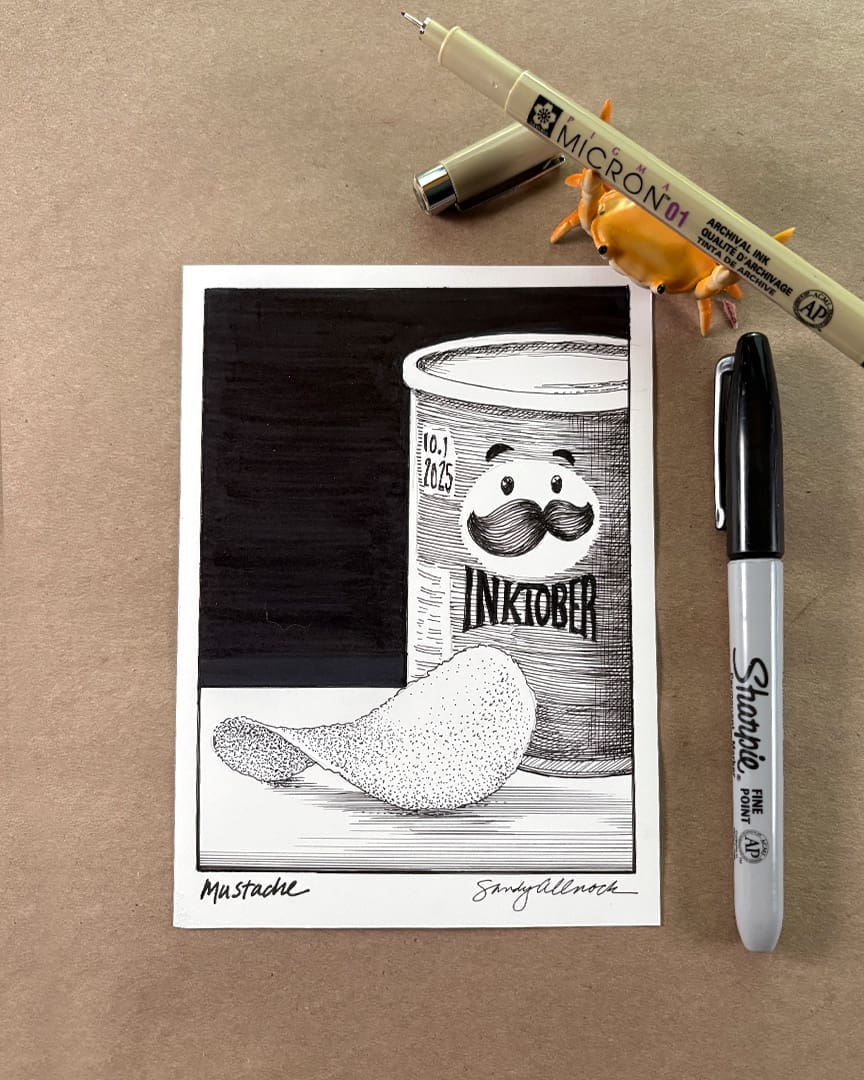
As mentioned in the first video, you’ll want to cut your paper, if using a pad of paper—you don’t need to use a 9×12, but the drawings should be planned for approximately 4″ x 5.25″ size on a 4.5″ x 6″ piece of paper – leaving a border around it, with a little extra at the bottom for titling it, as shown in the drawing at right. (That drawing is not in this class.) You can add the borders to your papers ahead or do it as you proceed through class; I cut a rectangle of the smaller size, and traced around it with an 03 Micron pen. You can make the “sketchbook” shown in the video now, later, or not at all!
Practice
The PDF below contains the technique sheet mentioned, and the one with blank squares for you to fill in and see how your pen widths match the ones used for class. If you don’t have a printer you can just create your own grid on your paper.
DOWNLOAD PDF HANDOUT
Video: Basic techniques
This series begins with the drawing techniques video from years ago….we’ll be learning to use these techniques and more to make realistic drawings in this course.
Video: Papers
Part 2 is long, and covers papers. Choose something that works for you! There’s no paper that’s a must-have for this course, but I’ll be using the Pentalic Paper for Pens.
Video: Pens
A full discussion of all kinds of pen options! An epic project…
Share homework & ask questions
Artventure Community
Join our active art community of thousands of artists on the Mighty Networks app or on the web. You can get quick feedback, help, and answers, as well as getting to know other artists near you and around the globe! Free to join.
Monthly Open Studio
Sign in for one of our Zoom calls – “office hour” as a community! Submit work for critiques, questions about techniques, get to know fellow students! See the calendar at Artventure for upcoming dates. Replays available free for 1 week.
Discover more from Art Classes
Subscribe to get the latest posts sent to your email.