
Urban Sketching Jumpstart Preclass
Welcome to this preclass lesson! Each course here on this website contains a free lesson with the basics of supplies – and some, like this one, have things to learn as well before you get started on the class.
I encourage you to take your time to get through the class, do the exercises – even some that may look hard. I get it, when you’re starting, everything can look difficult! But I’ve tried to break things down into the simplest elements to help you feel comfortable.
And I offer lots of tips along the way for going out and sketching in your community too. I’d welcome your suggestions too, if you’ve tried it – and would love to add them to class for everyone to learn from!
Before we start…a little housekeeping
I retain the copyright to the content you are learning in class. That means…
- Do not sell or give away the concepts from my classes – you may not re-teach my instruction contained or created within these lessons.
- Do not post a video tutorial or step by step photo tutorial of your own redraw of class content.
- Do not repost any handouts you receive in class.
However…I love to see students making strides and taking this teaching and personalizing it with your own skills.
- DO make your own designs and develop your own style! I love that!
- DO gift your creations made with these techniques, of course!
At the bottom of each lesson you’ll see some ways to share your homework and ask questions, so that’ll be handy for you.
URBAN SKETCHING TIPS
What exactly is urban sketching?
According to Google….
Urban sketching is a form of on-location drawing, where artists capture the world around them in real-time, focusing on the built environment and the life unfolding within it. It’s more than just sketching buildings; it’s about telling a visual story of a place, its atmosphere, and its people. Urban sketchers use any media and strive to be truthful to the scenes they witness.
For once, it’s a pretty accurate description! However – that description means what we’re doing in this course is not exactly urban sketching, strictly interpreted:
- We’re not out sketching life in realtime in a built environment. We’re at our homes—me filming, and you watching videos and learning.
- You don’t know the visual stories of the places we’ll be sketching, nor the atmosphere or people.
Even though I’ve provided photographs for you, it’s not possible to truly be doing justice to urban sketching in this way. But – how is a person to learn?? Well, you can find an urban sketch group in your community – they’re all over the world! You can go to Urban Sketchers website and scroll down to where you can input your location and find the nearest group. Or start your own group of friends to go sketch together! Nobody needs to be experienced. Just get out and draw.
Tacoma – or your city
Many urban sketchers only consider URBAN environments as ripe for urban sketching. Others are fine with nature sketching, indoor sketching, pretty much anything drawn from real life. Originally this class was going to be focused on a small town, but for “legality’s sake” I opted to change tracks to be certain not to start a nontroversy!
In this course, I’ve traveled a half dozen miles from my home to find places in Tacoma that would well-illustrate ideas to help us practice drawing.
But if you live in a city or near a city or town with these kinds of scenes, go ahead and draw your own location! I’ll provide descriptions of the photo and why I took it the way I did so you can find a way to capture your own city while completing the exercises in this course.
Video 1 Supplies & opening spread
We’ll be using what’s called “wash and ink” for this course – pen and ink drawings, with watercolor added. It’s one of the most traditional ways to create urban sketches, though there are SO many mediums people use! From just ink or just watercolor, to pencils, markers, gouache…anything that you can make “transportable” to an on-site location.
But we’ll stick with the very simple – and while I show you what I’ll be using for this course, I’ll also give you full permission to go your own way. Do your kids have a watercolor set? Try that out! Is there a pen you love that’s waterproof but isn’t mentioned? Go for it! Prefer to draw with a brush pen? I won’t stop you! 🙂
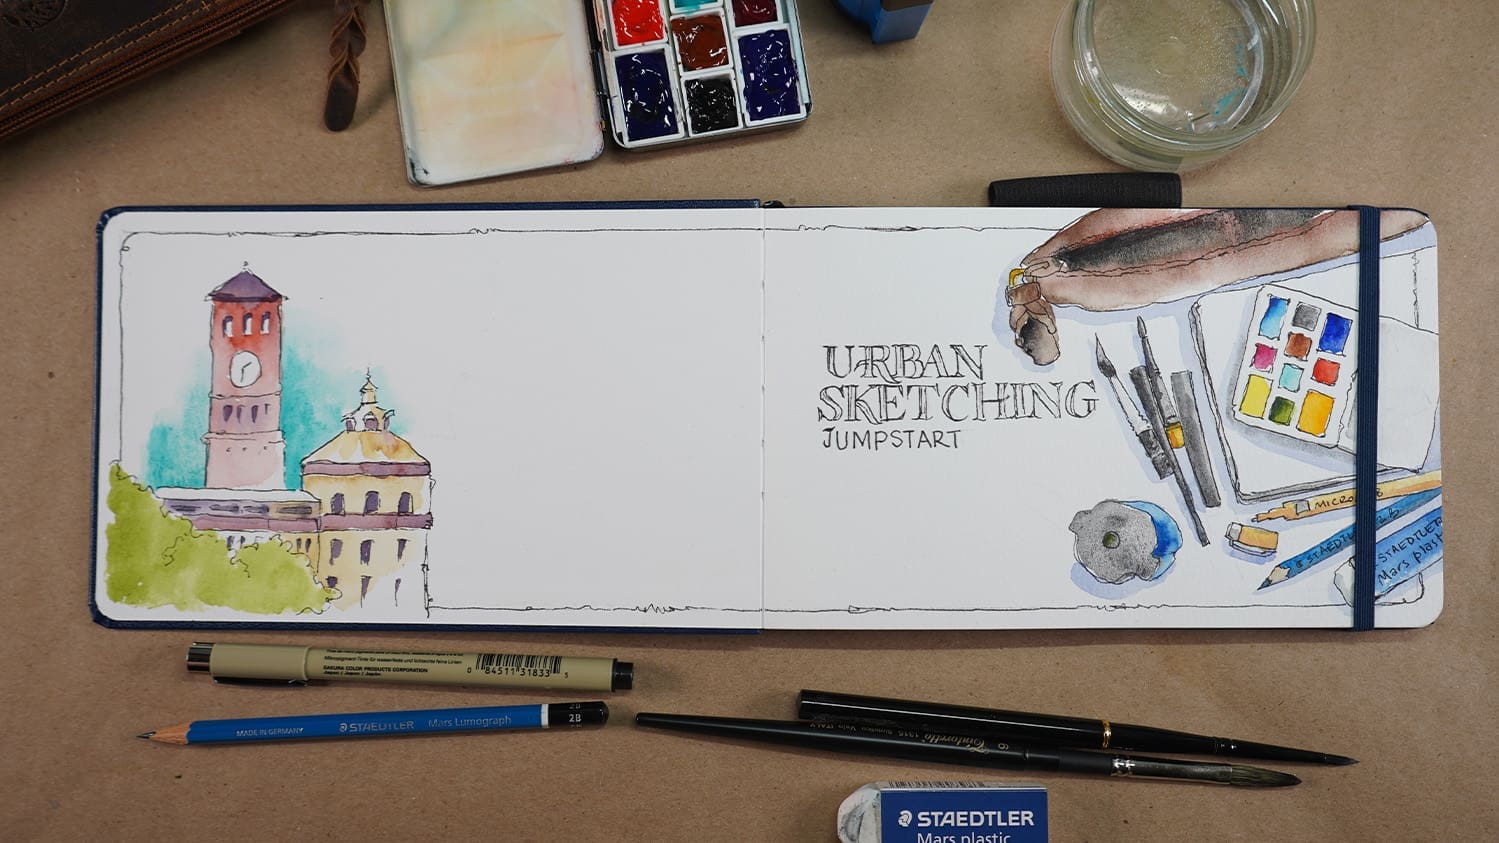
You can draw your own supplies on the first spread in your sketchbook – or just enjoy this video and save the “first” spread for later once you feel more experienced. Sometimes we want the first page to be a delight, and I don’t want anyone feeling too afraid to put pen to paper without some warmup first! My first page, as you see above, has a large blank area in it. By the time class is done, this page may get worked over a bit more — a few things I’m considering:
- Looking up some Tacoma history tidbits to journal in text in those open areas – either in pen or pencil.
- Writing down things I’ve learned throughout this class. Yes, your teacher learns as she teaches you!
- Drawing more vignette images (little pictures).
- Gluing in some Tacoma related items – show tickets, stickers, various things I find in the city.
- Enjoying the white space until I come upon the right idea.
In any of the pages in your sketchbook, you may want to include some of these. Especially writing down things you learned! I’ve designed the class and the lessons with the intent these pages will be ones you’ll refer to again and again for years to come – reminding yourself of the concepts covered as you continue to sketch your world.
Supply list
Sketchbook:
Brushes:
- Tintoretto Cat’s tongue pocket brush 1315 size 6 A GALLO (or any brush that’ll be able to do the kinds of splashy watercolor shown in the 2nd video)
- Silver Brush Black Velvet Round 4 Travel Brush BLICK AMZ
Drawing Pencil:
- Staedtler Mars Lumograph 2B BLICK AMZ JACKSONS
- Staedtler Mars Plastic Eraser BLICK AMZ JACKSONS
- Staedtler Mars Pencil Grip One-Hole Pencil Sharpener AMZ
Drawing pen:
- Sakura Micron Pigma Pen 08 by itself AMZ
- Sakura Micron Pigma Pen Set if you like nib options: BLICK AMZ JACKSONS
Palette
- Whiskey Painters Mini palette
- Full size pans Full pans BLICK AMZ
Watercolors:
- Daniel Smith Essentials Set BLICK AMZ JACKSONS
- optional: Daniel Smith Lunar Black BLICK AMZ JACKSONS
- optional: Daniel Smith Burnt Sienna BLICK AMZ JACKSONS
- optional: Daniel Smith Cobalt Teal Blue BLICK AMZ JACKSONS
- optional: Daniel Smith Sap Green BLICK AMZ JACKSONS
If you end up ready to go out to sketch, get yourself a folding camp chair of some kind!
For those who’d like to try a fountain pen:
- Platinum Carbon Black Fountain Pen Ink
- TWSBI Eco fountain pen ExtraFine , Fine, or Medium. I tend to use the medium most nowadays as I’m trying to keep from small details, but the fine also is nice!
Resources to print
You won’t be able to “trace” these resources on thick sketchbook paper – but sometimes printing them out at the same size as your drawing can help. Just remember – relying on having something carefully sized for you won’t help once you’re outside. But accuracy isn’t the goal here – capturing the essence of the place you’re sketching, the memories of your time there, that’s what you’ll be looking for.
DOWNLOAD RESOURCE PDF
Video 2 Testing pages
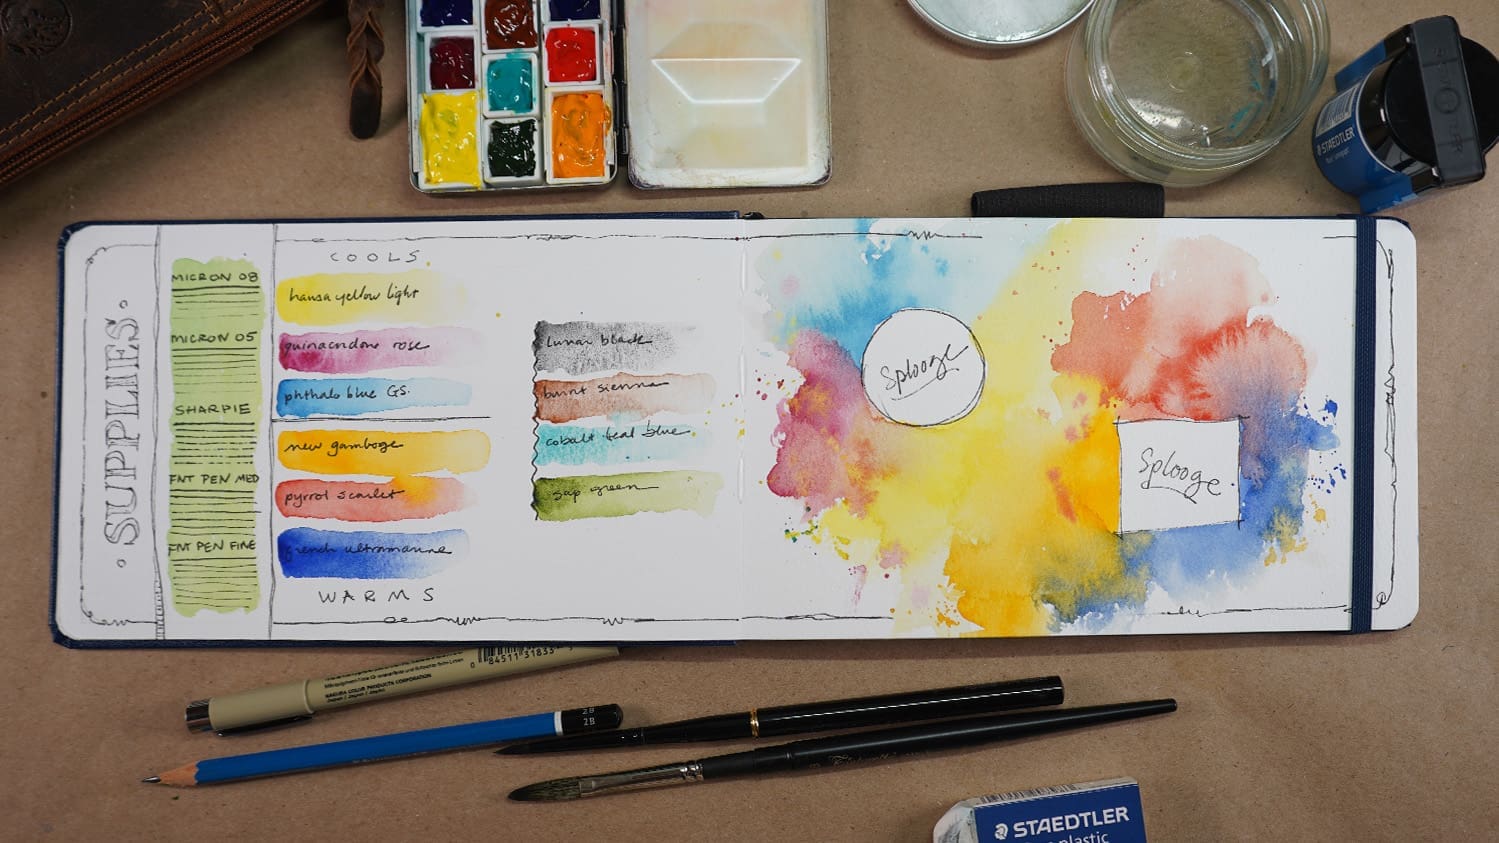
Each of our lessons will include a spread; this preclass lesson includes two if you decided to already complete the first spread above!
This one, however, everyone can do. Test your pens and see what you like. Swatch the colors you plan to use – and if you have 36 in your palette, see if you can limit yourself to 10 or less. For this class you don’t have to make a special palette of them, but for going out sketching you will want to do that.
And then we’ll test a technique we’ll use a lot in this class – splooges!
Share homework & ask questions
Artventure Community
Join our active art community of thousands of artists on the Mighty Networks app or on the web. You can get quick feedback, help, and answers, as well as getting to know other artists near you and around the globe! Free to join.
Monthly Open Studio
Sign in for one of our Zoom calls – “office hour” as a community! Submit work for critiques, questions about techniques, get to know fellow students! See the calendar at Artventure for upcoming dates. Replays available free for 1 week.
Discover more from Art Classes
Subscribe to get the latest posts sent to your email.