
Christmas Bible Crafts Preclass
Welcome to the preclass lesson! There’s a lot of fun to be had in this “snack” (short and inexpensive) class….and before you shop this list, I want to tell you not everyone will make all the things. Or once you see the video you might decide you have a better idea how to make your own vision of the same thing come to life.
But I’ll link to all the things here, and you can refer back to this list as you get into the lessons, where there’ll be key links included.
One more caveat – the first lesson is about creating a journaling page in a Bible or workbook you’re giving to someone else; since that could take a while to shop for, I’m including it as the first lesson, but in this list here, that’s the last section – because it’s so long. I’ve had many people ask for my recommendations to give to a newbie, and I’ll be using this list to share the info.
Without further ado…
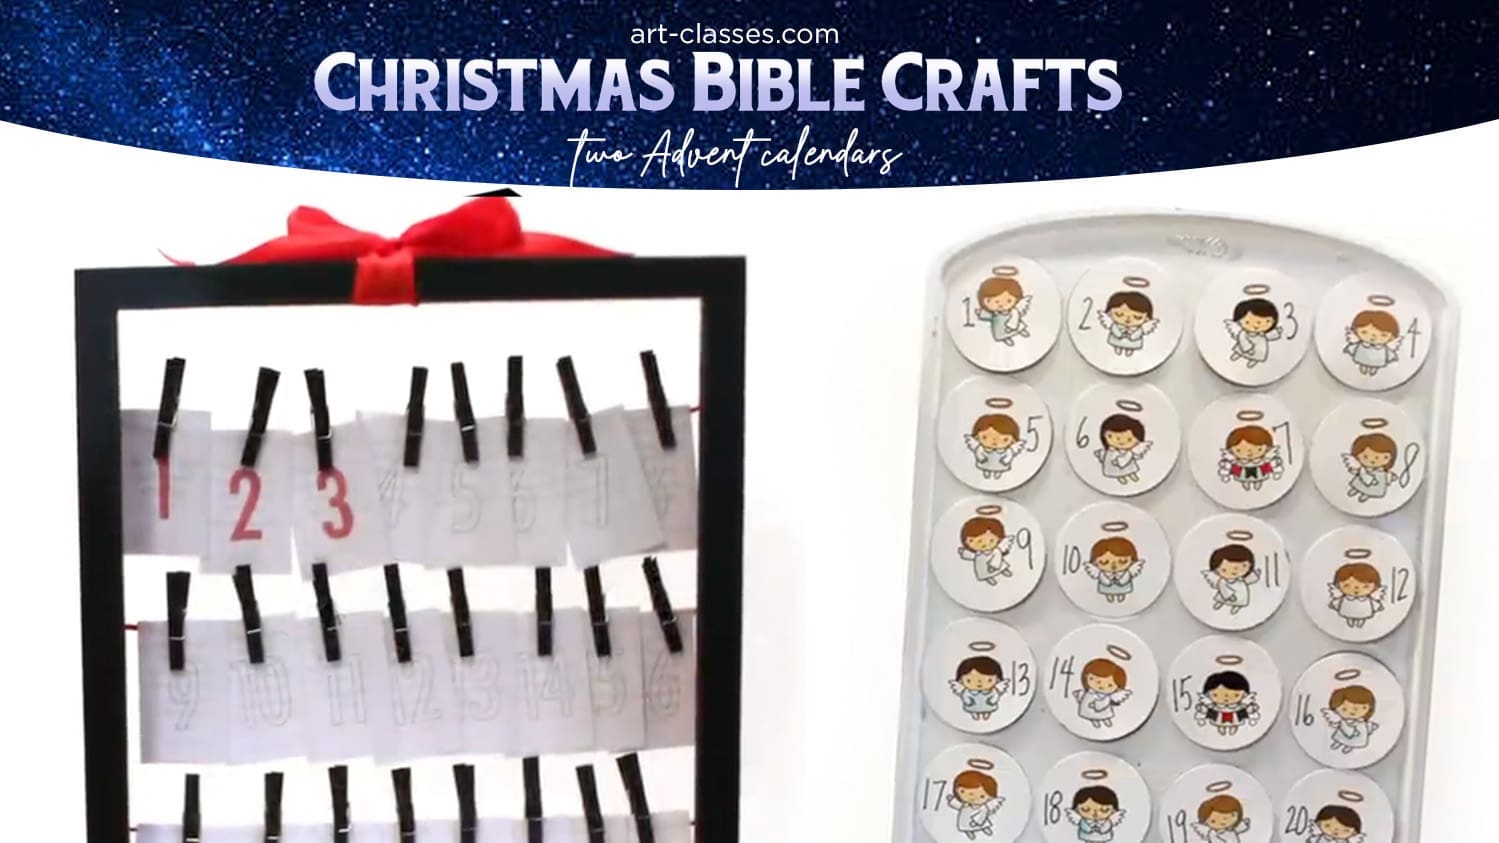
Version 1 – Glassine envelopes – they’re in big packages at this size online, but maybe they’re at your craft store at 1-3/4″ x 2-3/4″ so try there first. Alternates for other sizes will be discussed in the class. You’ll need clothespins and some kind of string, and either a frame like mine or just string them up in your house.
GLASSINE ENVELOPES
LARGE CLOTHESPINS
SMALL CLOTHESPINS
Version 2 – Mini muffin tin – if you spray it like shown you can’t bake with it again, but it’s reusable if not painted. You’ll need magnet sheets (found some with adhesive that I wish I’d had!), and some kind of decoration for the circles – stamps like the angels used here, or whatever you’d like to try to decorate your circles!
ANGEL STAMP SET
MINI MUFFIN TIN (24)
MAGNETS WITH ADHESIVE
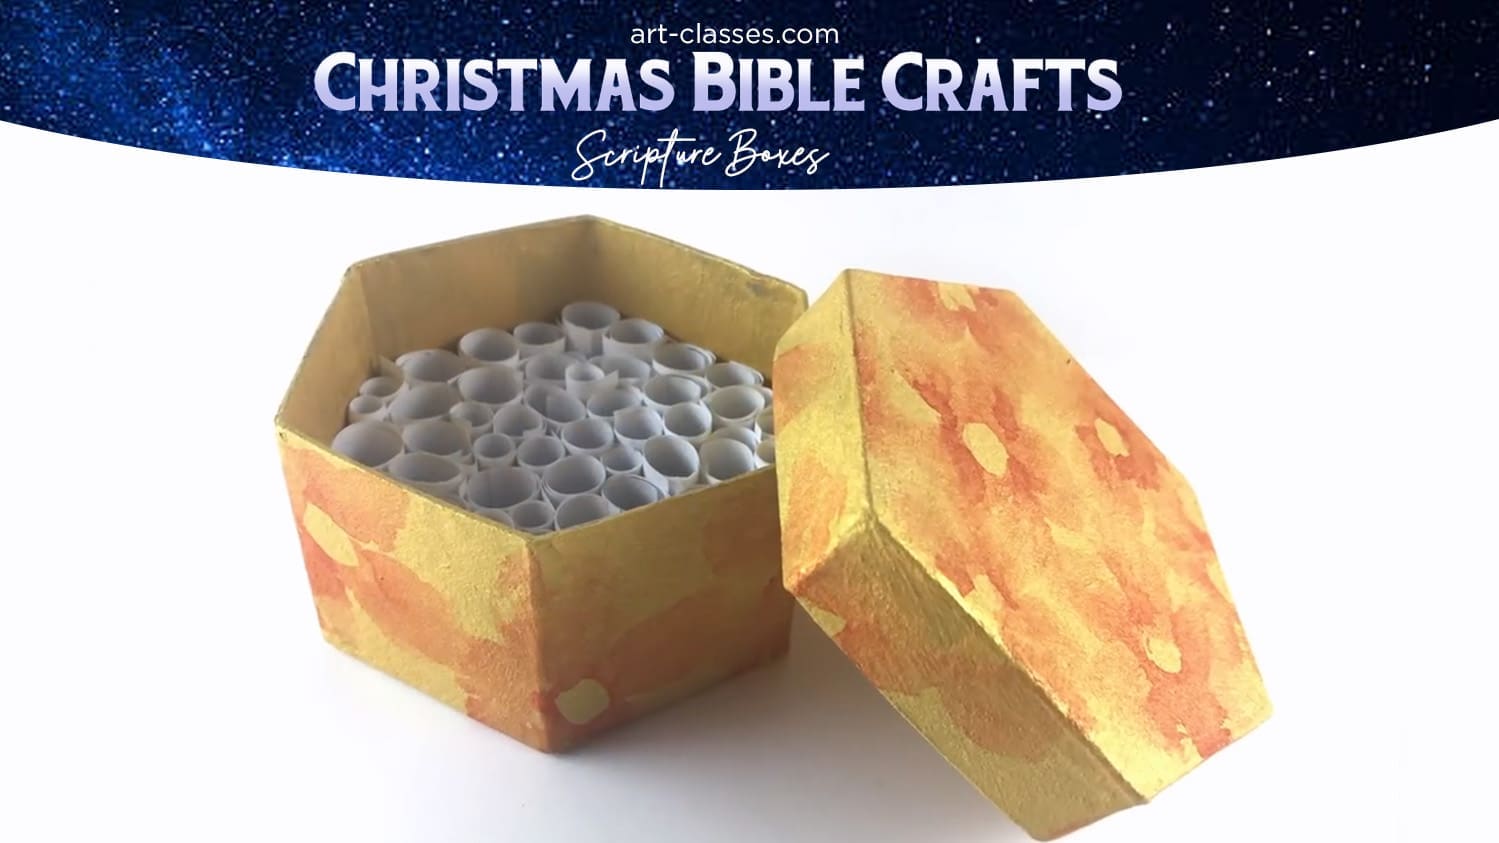
These papier maché boxes are ubiquitous at craft stores so go look at the options – your mind will swirl with ideas to decorate them! Shown is one option from the lesson with gold watercolor grounds and pretty flowers in watercolor painted on them.
GOLD WATERCOLOR GROUNDS
ANY PATTERNED PAPERS, WATERCOLORS, ACRYLICS, AND BRUSHES
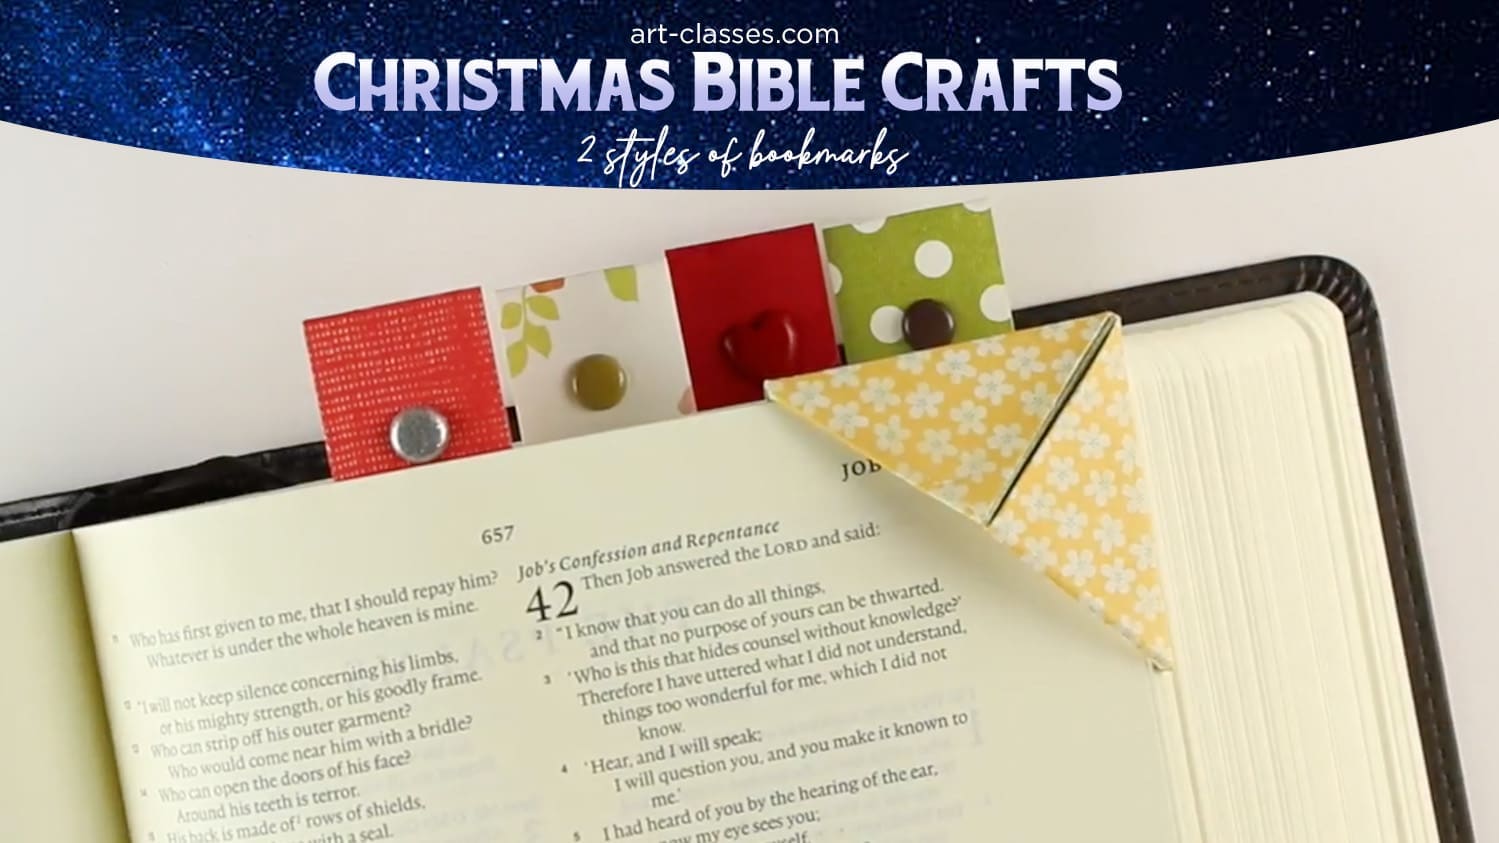
Two styles of simple but creative bookmarks – wait til you see the kids style ones! These would be nice for stocking stuffers as well as a big batch for your church’s Christmas Bazaar.
ANY PATTERNED PAPERS (2 sided are best)
FANCY BRADS
CIRCLE PUNCHES OR DIES
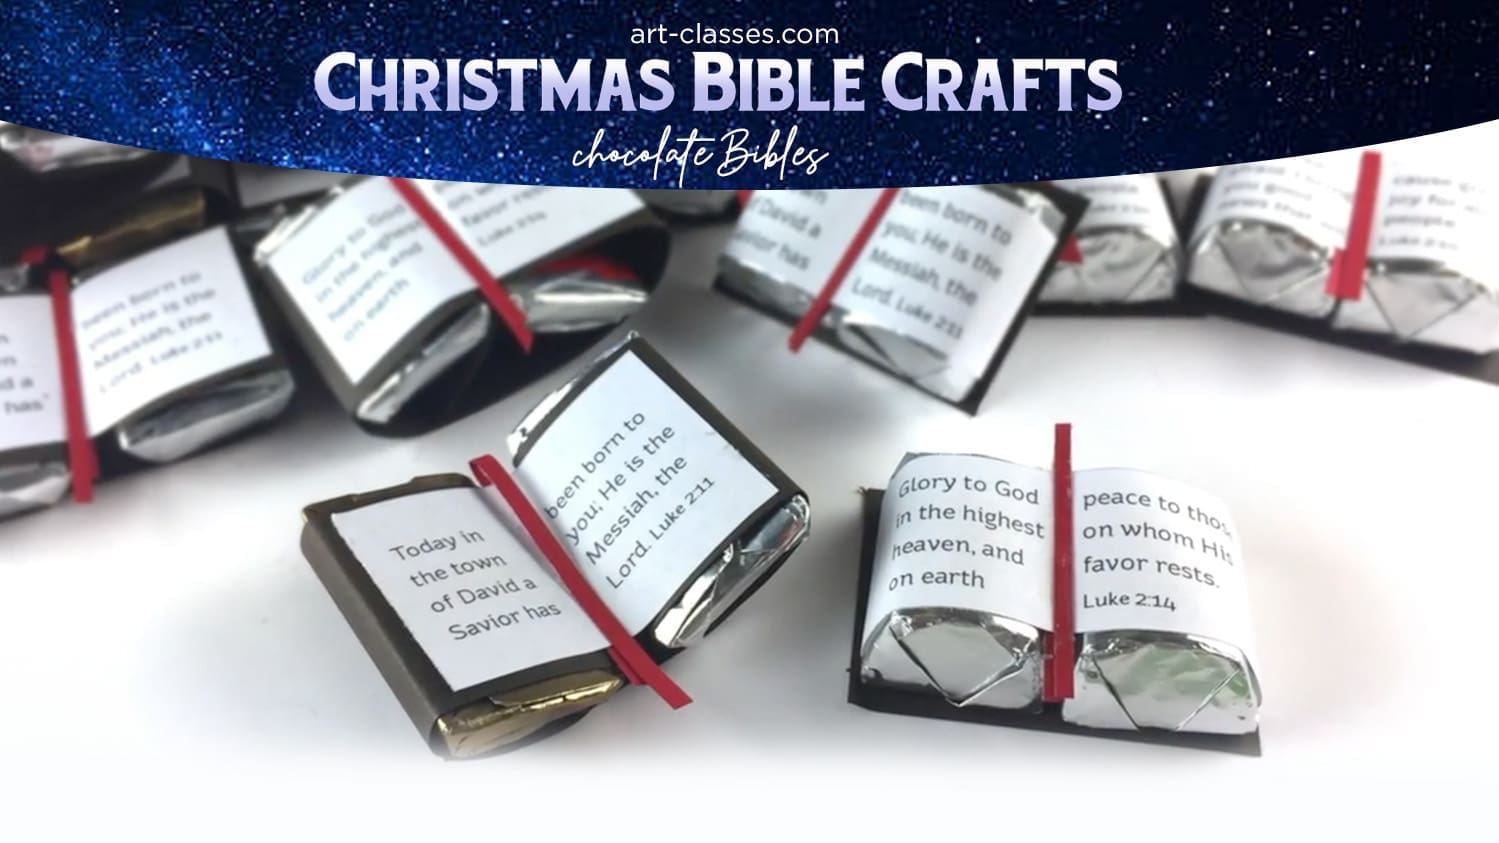
Choose between nuggets (the thicker candy bars) or the fun size (personally the nuggets are more fun, right?!). Add a little cardstock and the printouts, easy!
TAPE RUNNER
BLACK OR BROWN CARDSTOCK,
RED CARDSTOCK OR THIN RIBBON
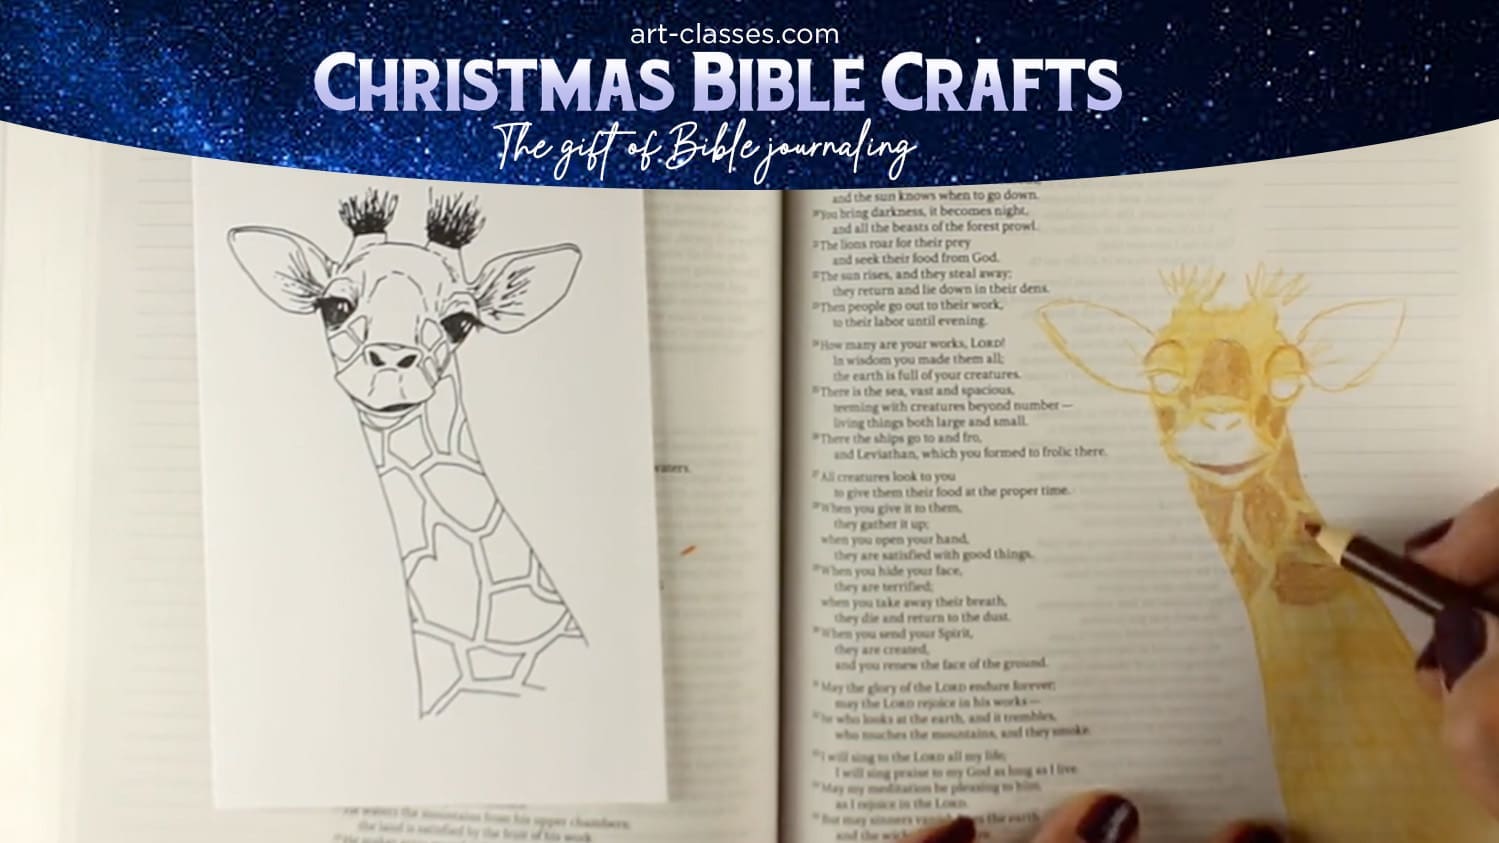
Shop for a journaling Bible
When it’s a gift, it may be difficult to figure out what to purchase for another person. A Bible is a very personal item! I find many available on Amazon, or sites like Christian Book Distributor, or you can put hands on one in your local Christian book store or often even a regular bookstore.
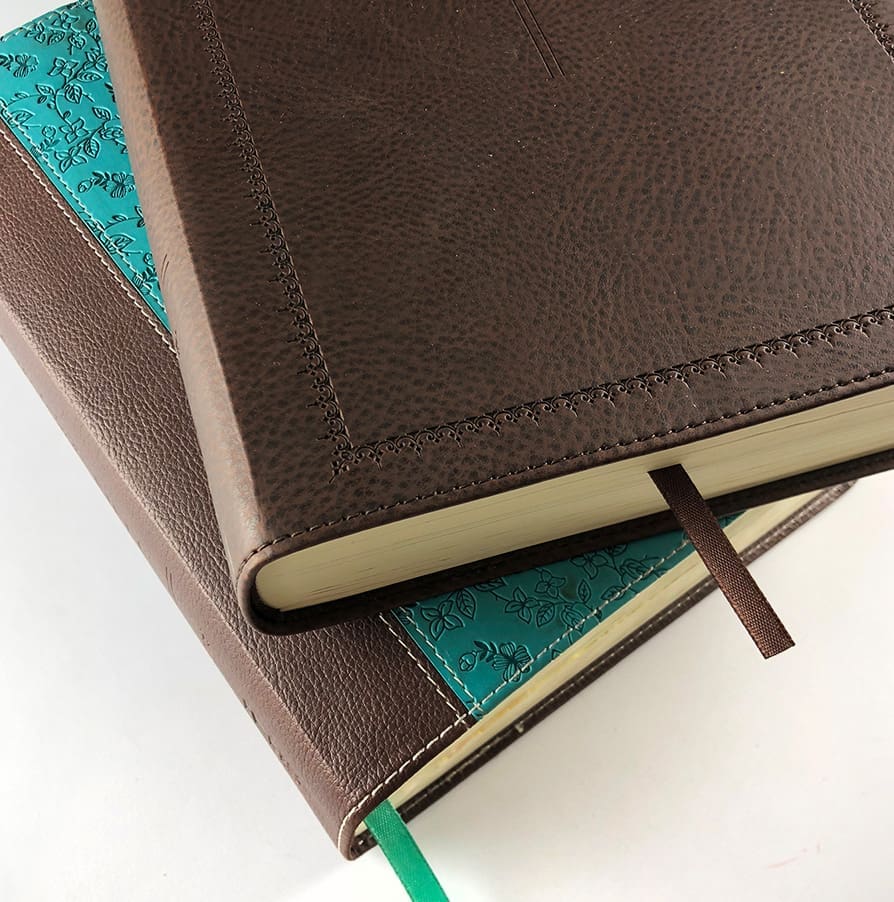
Considerations when choosing a Bible:
- Translation: If it’s someone in your household, you may know their favorite translation, or you can call their spouse or parent to ask about specifics. I like to use a translation in my journaling Bible that’s not the same as my study Bible so I have another to compare to.
- Page design: Some journaling Bibles have columns for art on both sides, most have lines in them (helpful for writing text!). You might consider an interleaved Bible that has empty pages between each page of text (often thicker books due to doubling the pages, and expensive because of it).
- Cover design: Young girls often love pink Bibles with flowers – young gents want something more masculine, or at least plain. Choose accordingly!
The paper in most any Bible I’ve seen (and I have a couple dozen!) are about the same with exception of Gideon Bibles in hotels, printed on newsprint. All the rest will be just fine with colored pencils, watercolors, watercolor pencils, etcetera.
An alternate to purchasing them a Bible – is my workbook.
I wrote two books, below – the instructional book, and a workbook. The workbook will be out of print soon; and that can be a viable alternative to purchasing a Bible to get someone started. They can practice in the workbook and then pick out their own journaling Bible.
Beyond that you could also send them a gift card for a Bible journaling class here, because, well, that fits everybody right?
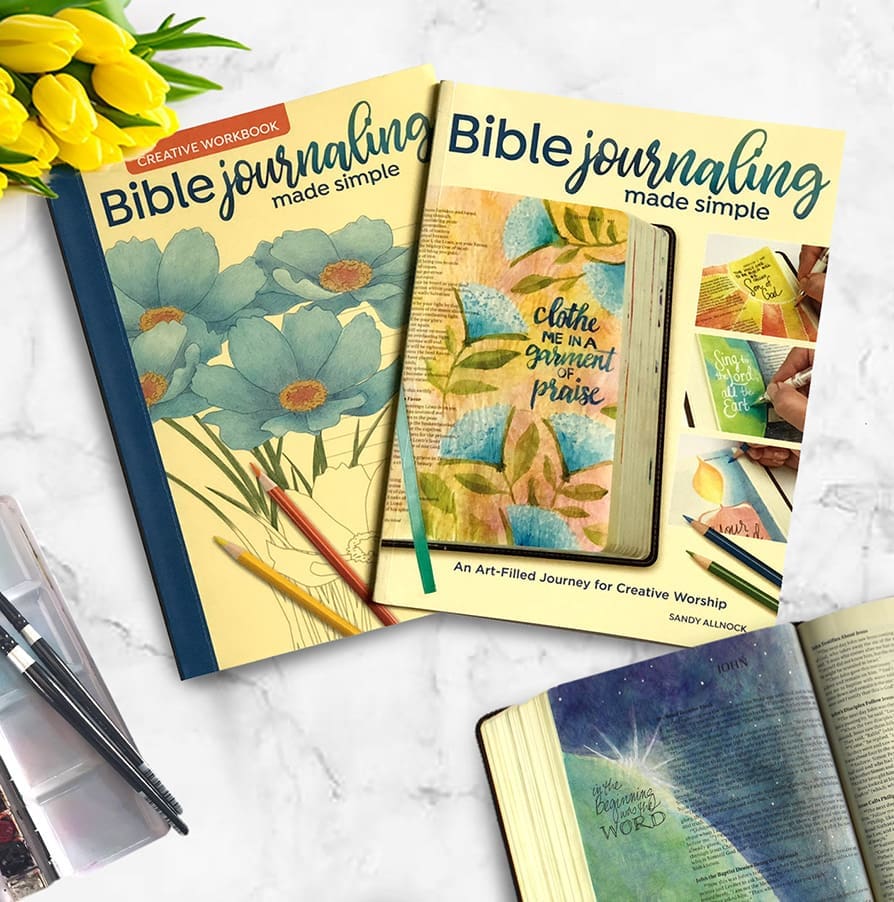

INSTRUCTIONAL BOOK
WORKBOOK
GIVE A GIFT CARD
Help them get started
If the recipient isn’t familiar with Bible journaling (or maybe you’re not!), here’s a bit about what I’d recommend for a newbie. I’ve led journaling at my church and made these same suggestions to them.
Colored pencils: These are the easiest medium to start with! Everyone knows how to hold a pencil and we colored with them as kids. Get a set of perhaps 36 or 48 which feels exciting (like that crayon box you loved getting as a kid, can you remember that smell?) I recommend Prismacolor, as they’re the least expensive of the artist-grade pencils…if you’re in Europe I know they’re not available. Polychromos and Derwent are excellent brands you can find there. While you can use children’s cheap pencils, remember art in a Bible will hopefully last, and children’s materials generally do not.
Wrap up the pencils, Bible, and include a little pencil sharpener too! I’ve included a little inexpensive one here.
PRISMACOLOR AT BLICK
PRISMACOLOR AT AMZ
POLYCHROMOS AT JCKS
SHARPENER AT BLICK
SHARPENER AT AMAZON
SHARPENER AT JACKSON’S
Example of a colored pencil page, shown in the Colored Pencil Jumpstart course here.
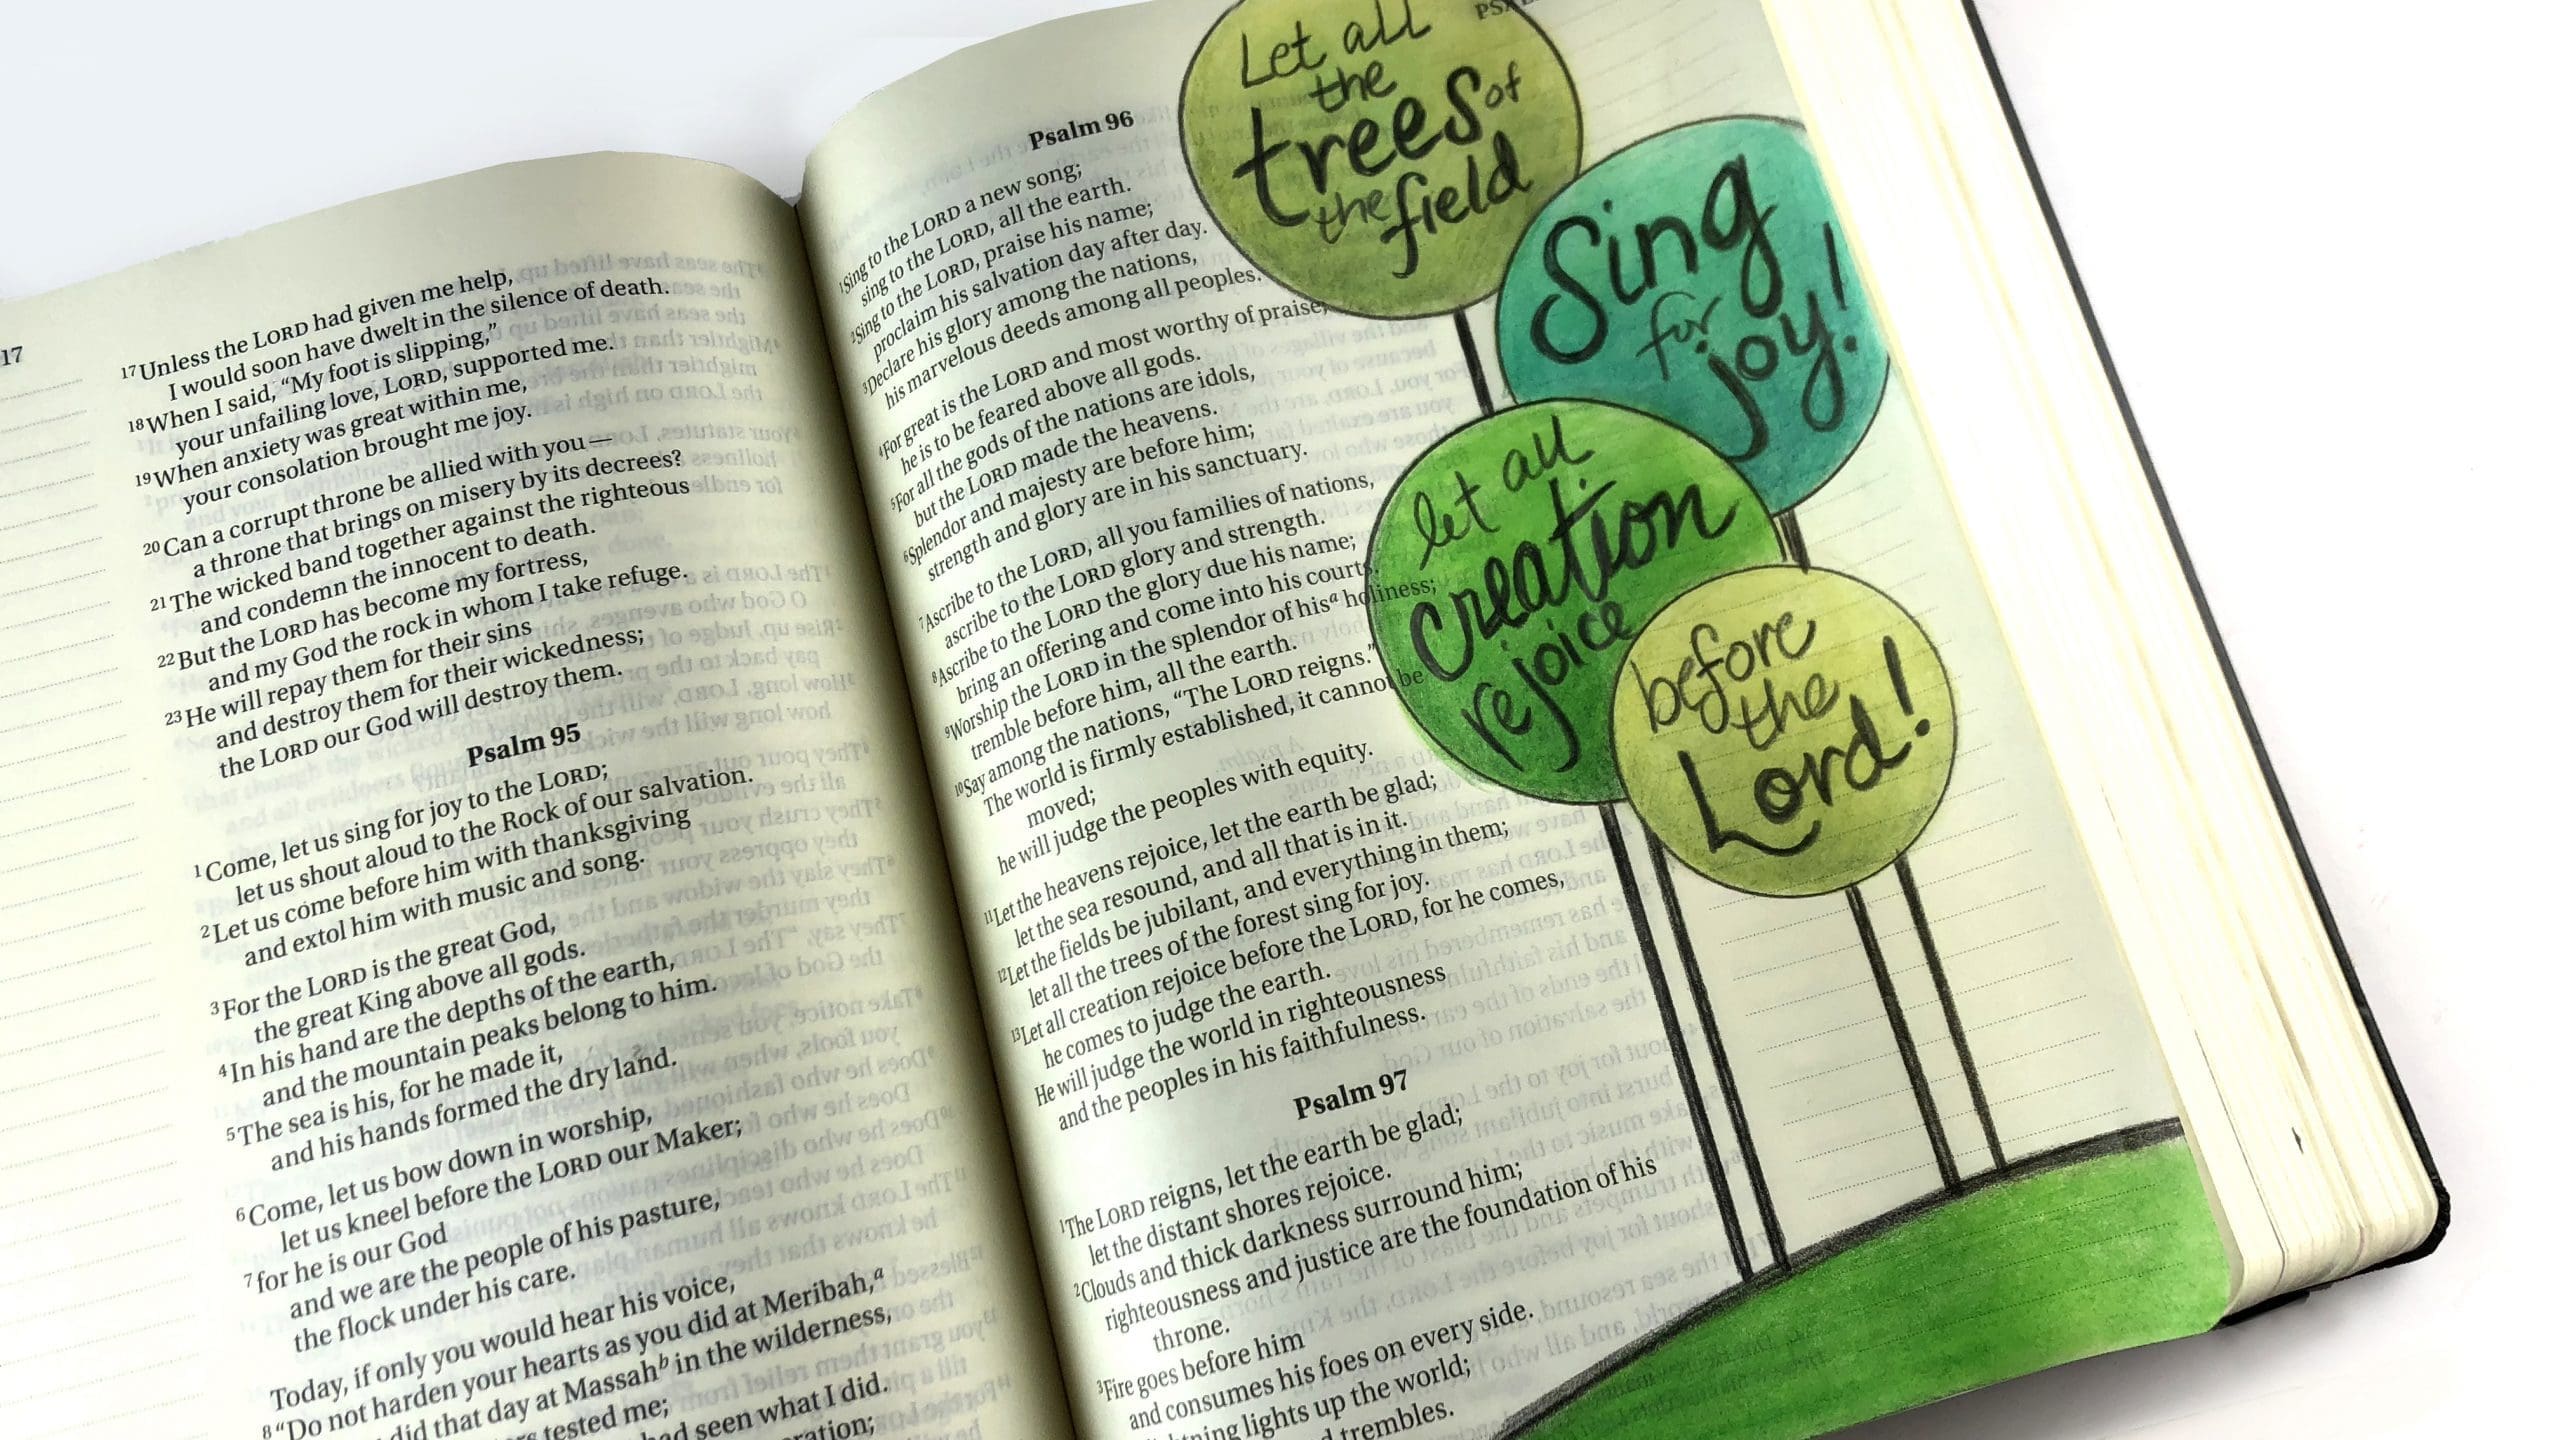
Watercolor pencils: Second-easiest for newbies! You can make it splashy with water but the initial lay-down of colors is with dry pencil and much less scary. I’m listing a few brands – Inktense are the brightest colors, but the Albrecht Durer are the ones I use really often. Again a smallish set is more than a good start for a gift.
If you choose these pencils, then include a brush or two along with them; I’ve included an inexpensive number 6 and 2.
INKTENSE AT BLICK
INKTENSE AT AMAZON
INKTENSE AT JACKSON’S
ALBRECHT DURER AT BLICK
ALBRECHT DURER AT AMAZON
ALBRECHT DURER AT JACKSON’S
No 6 ROUND AT BLICK
No. 6 ROUND AT AMAZON
No. 6 ROUND AT JACKSON’S
No 2 ROUND AT BLICK
No. 2 ROUND AT AMAZON
No. 2 ROUND AT JACKSON’S
Example of a watercolor pencil page in an interleaved Bible. Much of the pencil was moved with a baby wipe to keep excess water off the page!
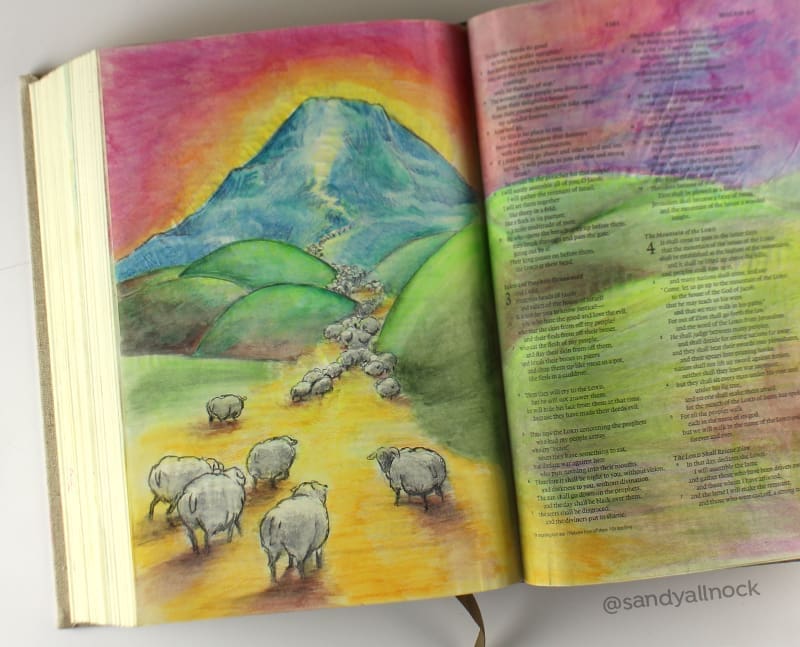
Watercolor: Painting in watercolor isn’t the easiest medium, but I do find it the most fun! I just try to remember that God isn’t interested in the outcome of my pages, He’s looking at the heart I poured into it.
I do recommend getting some quality watercolors, though I’ve used inexpensive ones with success; I just don’t know how long those pages will last in my Bible. I’m including the Daniel Smith set I recommend; they’re a “mixing” set – meaning your recipient will need to learn to mix colors, which is so much fun! Send them this video to watch.
You can get a palette to wrap up, or provide a butcher tray or white ceramic plate from the local goodwill store for mixing paints! They can squeeze paint out, and just rewet it when they come back to paint again after it’s all dried. I recommend the same brushes as above in the watercolor pencil section….
DANIEL SMITH AT BLICK
DANIEL SMITH AT AMAZON
DANIEL SMITH AT JACKSON’S
GANSAI TAMBI AT BLICK
GANSAI TAMBI AT AMAZON
BUTCHER TRAY AT BLICK
BUTCHER TRAY AT AMAZON
BUTCHER TRAY AT JACKSON’S
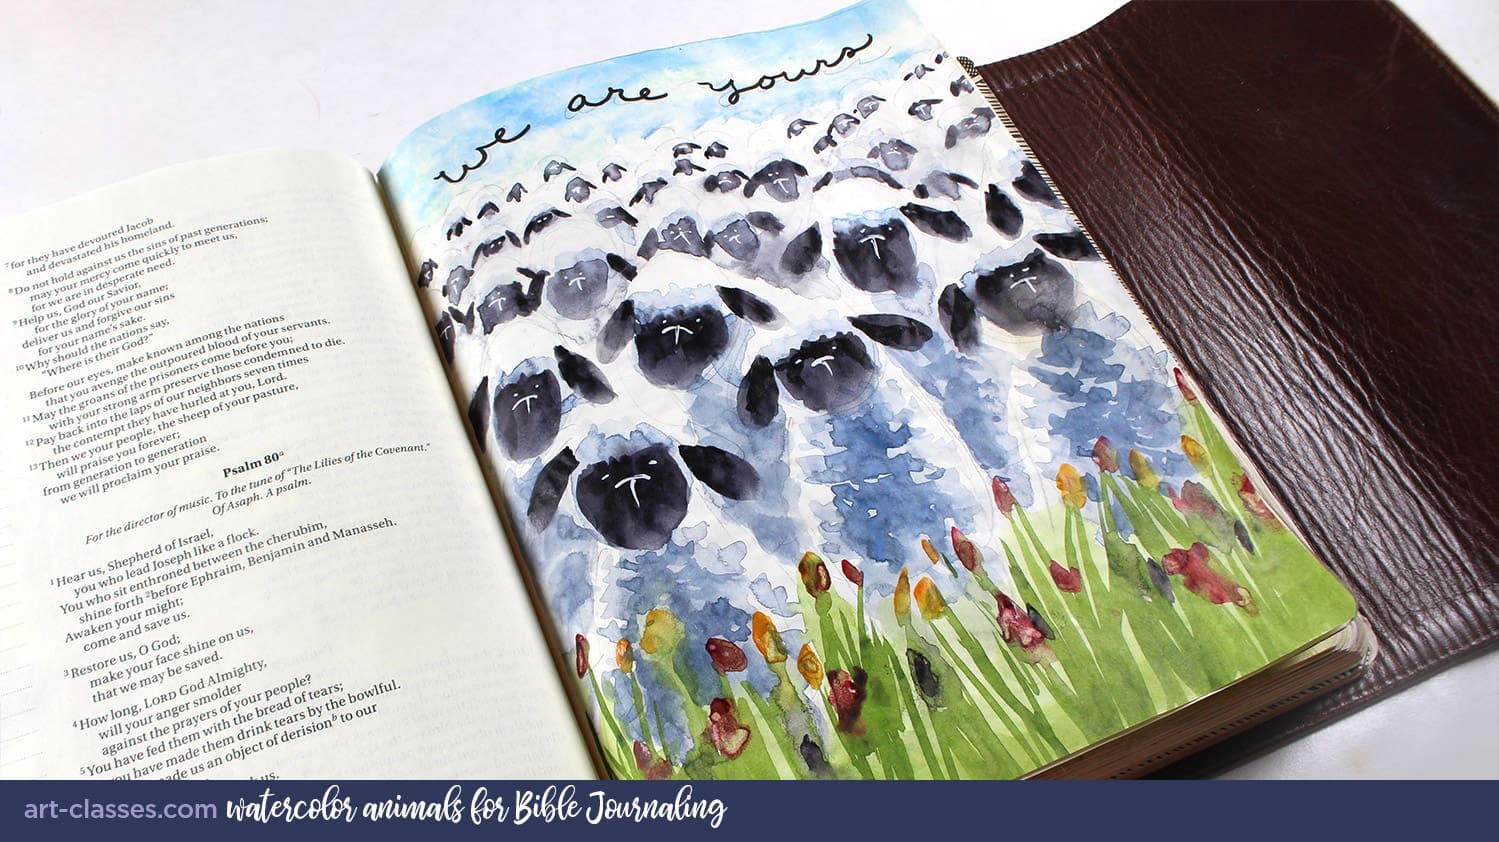
Example of a watercolor page painted on Tomoe River paper and added as a tip-in as part of the Watercolor Animals for Bible Journaling course.
Quick links to share your work wherever you like:
Artventure Community
Artventure is an active art community of thousands of artists that I run on Mighty Networks via an app or the web. You’ll be right in my pocket for quick feedback and answers to questions and bonus zoom calls! Free to join.
Social media & blogs
Post wherever you like to share, and tag @sandyallnock – I love to see your work! Posting lets your friends know which class you’re taking. They might enjoy learning as well!
Discover more from Art Classes
Subscribe to get the latest posts sent to your email.